
This is a tutorial for how to sew a stocking with quilt scraps!

Growing up, my mama made my family’s stockings. When my husband and I were married in October of 2018, I made us each a stocking to carry on the tradition!
Last Christmas, my daughter was a newborn and though I really wanted to make her a stocking, I just did not have enough energy in the postpartum season to do it.
But this year, I felt way more excited and energetic about the idea of making a stocking for her! As I was brainstorming the design, I decided it would be best to make one that I could recreate a similar look for future kids, if God blesses us with more babes.
All things quilted feel SO cozy and SO Christmas to me, so I thought, why not use quilt scraps?! That way, I can keep my eye out for quilt scraps year after year, and each babe could have a unique one, but they can still somewhat “match.” Who knows if I will actually keep this up, but it’s my plan for now.
How to Find Quilt Scraps

I was thrilled to find these quilt scraps at a store in Colorado Springs, called Who Gives A Scrap? It has tons of craft supplies for cheap. This place is awesome, if you are local, be sure to check it out! Amazing name, by the way!
If you are not local, check your local thrift store’s linen section for quilt scraps or fabric scraps. Resale shops or antique stores may also have old quilts that aren’t in great condition, but would be perfect for a project like this.
Also, you can search for “cutter quilts” on Facebook Marketplace, Ebay, Etsy, etc. These are quilts that are quite worn, but may have sections of them still intact.
Materials
- Quilt scraps or other fabric scraps
- Stocking for template or stocking pattern
- Sewing machine
- Thread
- Scissors
- Pins
- Safety pin
- Iron & ironing board
Instructions
Step 1: Cut pieces using stocking you already have or a stocking pattern

I used the stocking I made a few years ago for my template stocking. I cut front and back pieces for both the stocking and the cuff. And one piece for the loop, so 5 total pieces.
I used a 3/4″ seam allowance. If you don’t already have a stocking to use as a template, there are plenty of free stocking patterns online available to download.
Step 2: Pin & sew cuff piece to stocking
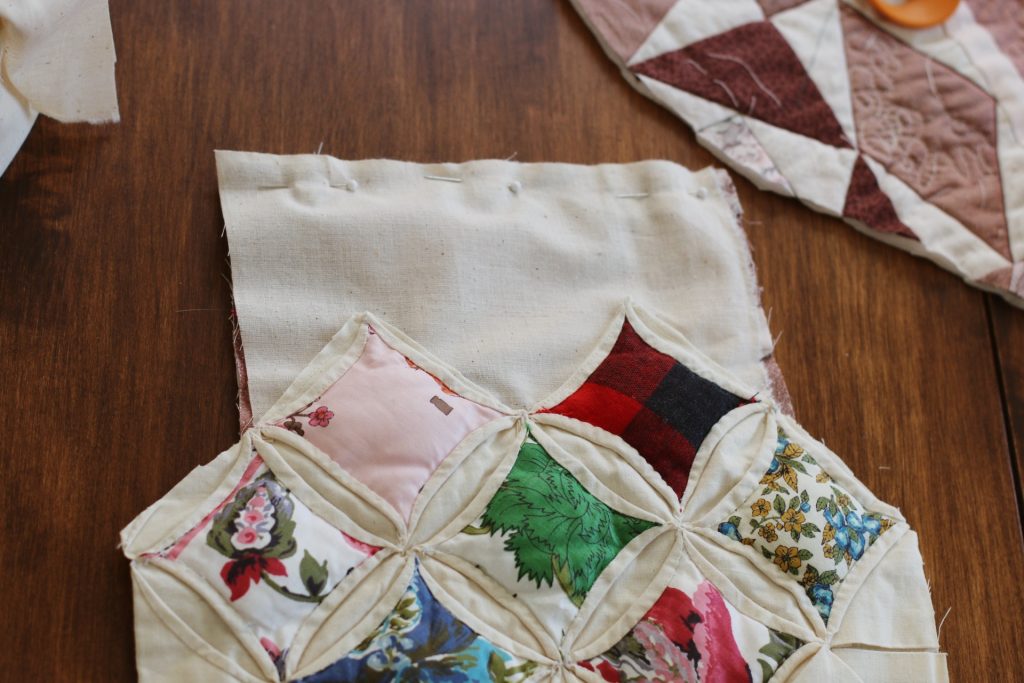
Next, I pinned and sewed the cuff piece to the stocking piece, right side of stocking piece to backside of cuff piece. And then, repeated the same for the back – right side of stocking piece to backside of cuff piece.
Step 3: Sew together only cuff hems, right sides together
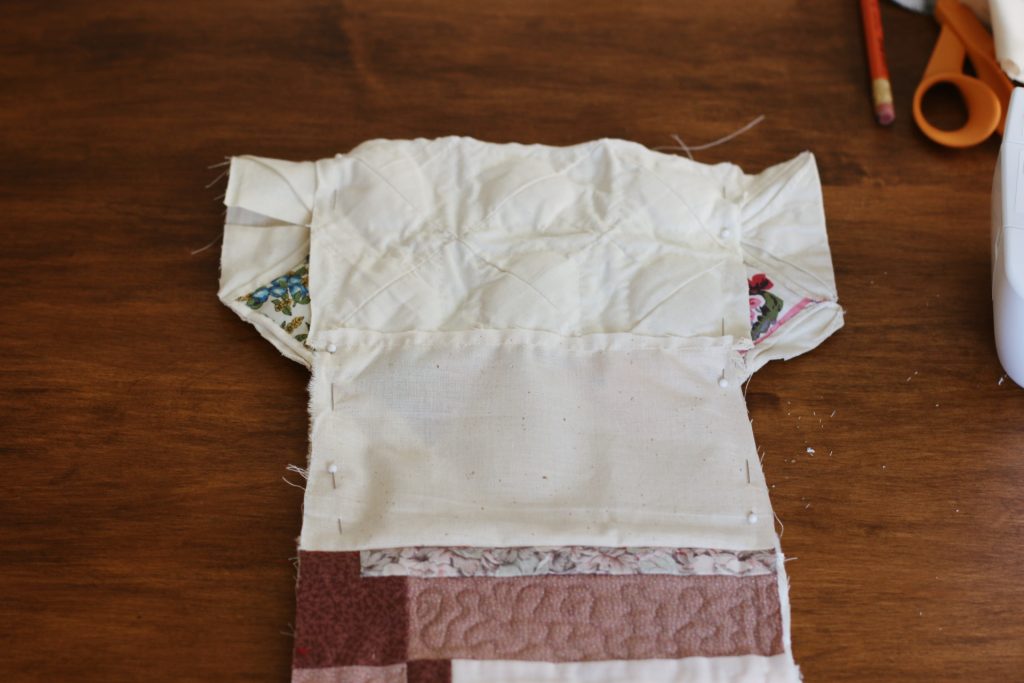
Then, I laid the front and back stocking pieces right sides together at the cuff (the backsides of the stocking piece will be together). Sew a seam to attach the front & back cuff pieces, but do not continue the seam down the stocking. Finish with zig-zag stitch.
Step 4: Turn inside out & sew together stocking hems
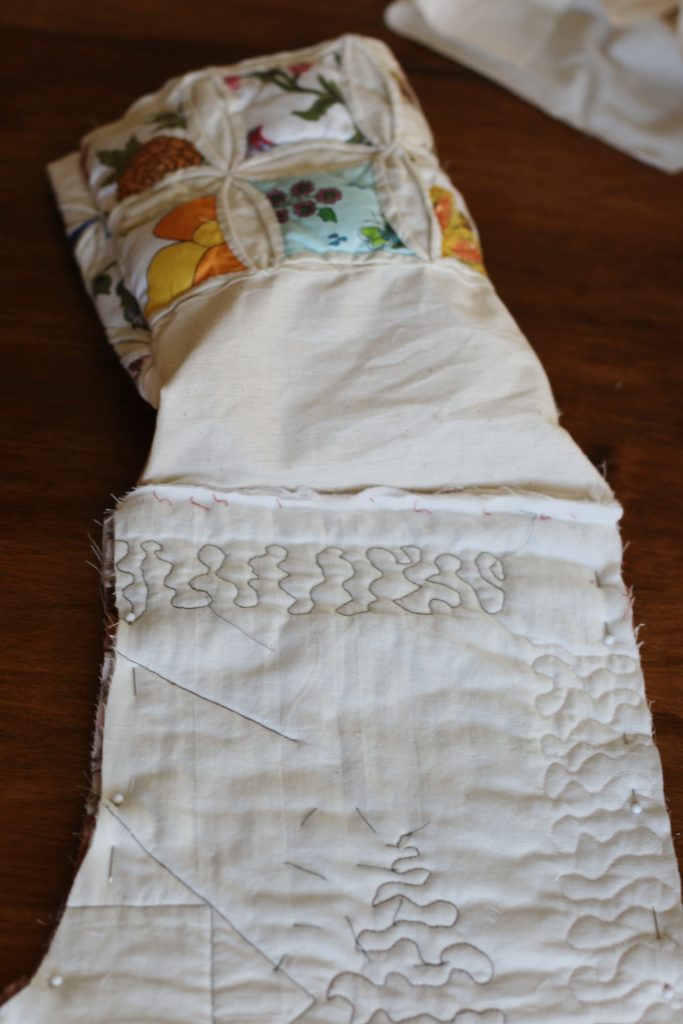
Next, I turned the finished cuff inside out, and the stocking pieces came right sides together. I pinned & sewed all the way around the stocking with one seam. Finish with zig-zag stitch.
Step 5: Turn inside out again & fold over cuff, iron if needed

Then, I turned the stocking inside out again, and folded over the cuff.
Step 6: Sew hem of loop piece, turn inside out, fold raw hems in, & attach to cuff
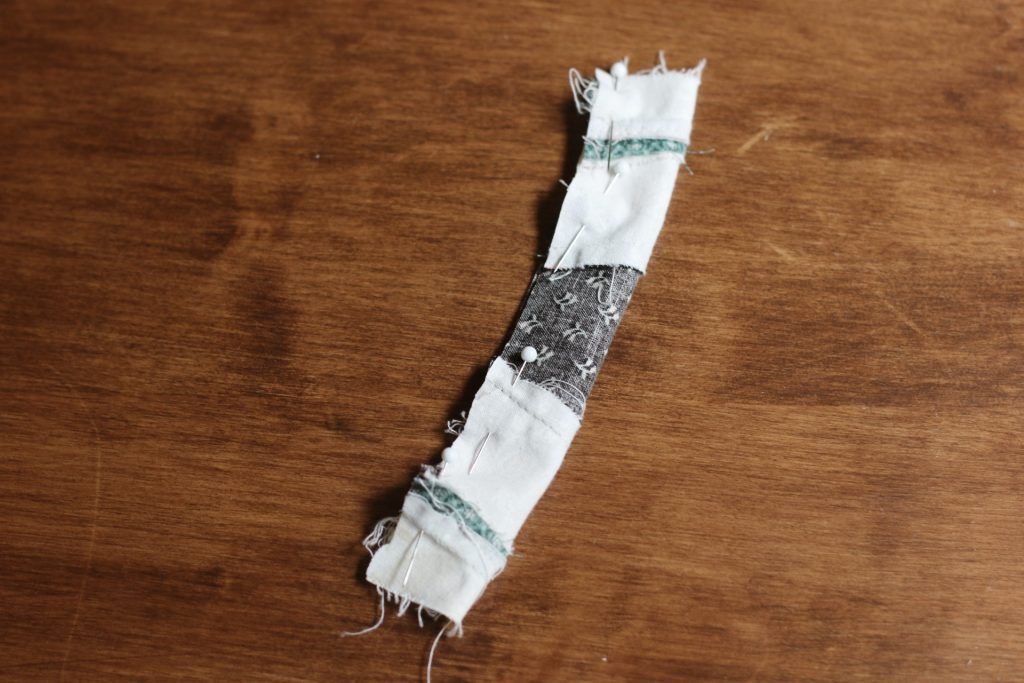
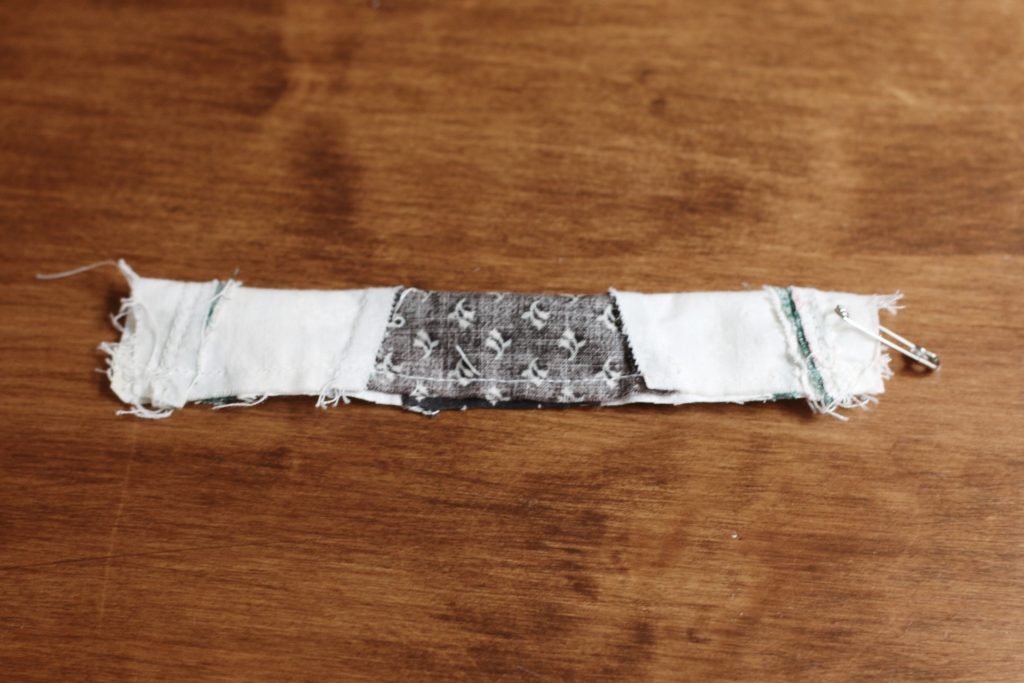
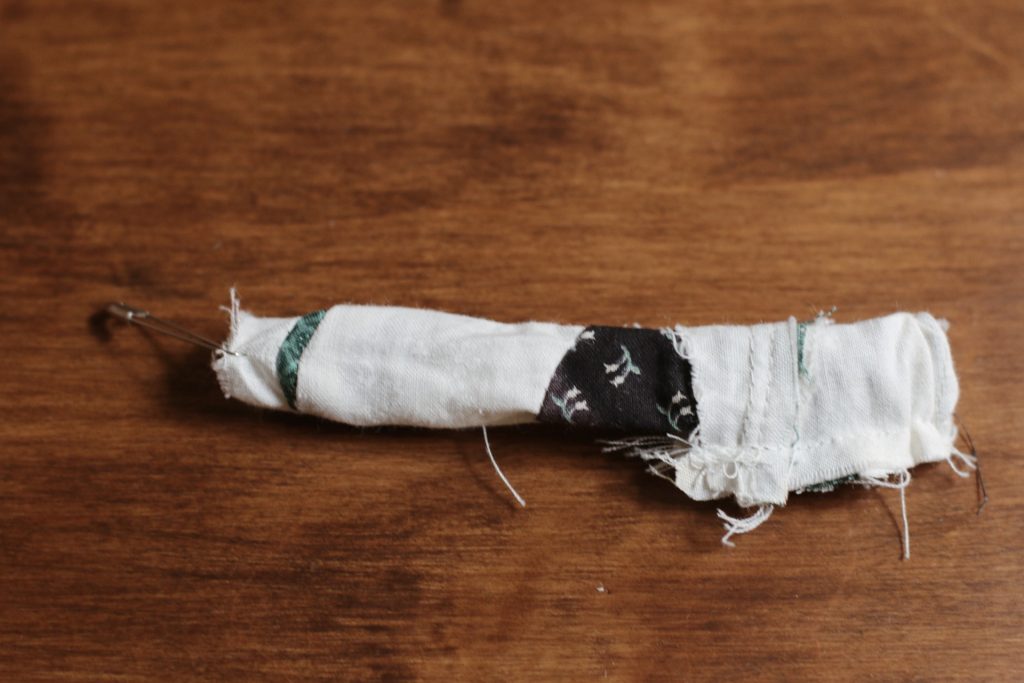
Lastly, I sewed the loop. I folded right sides together, sewed a hem, and then safety pinned one end to turn inside out by pushing the safety pin through. Then, I folded the raw hems of each side in and attached to the inside of the cuff.
Finished quilt scrap stocking!

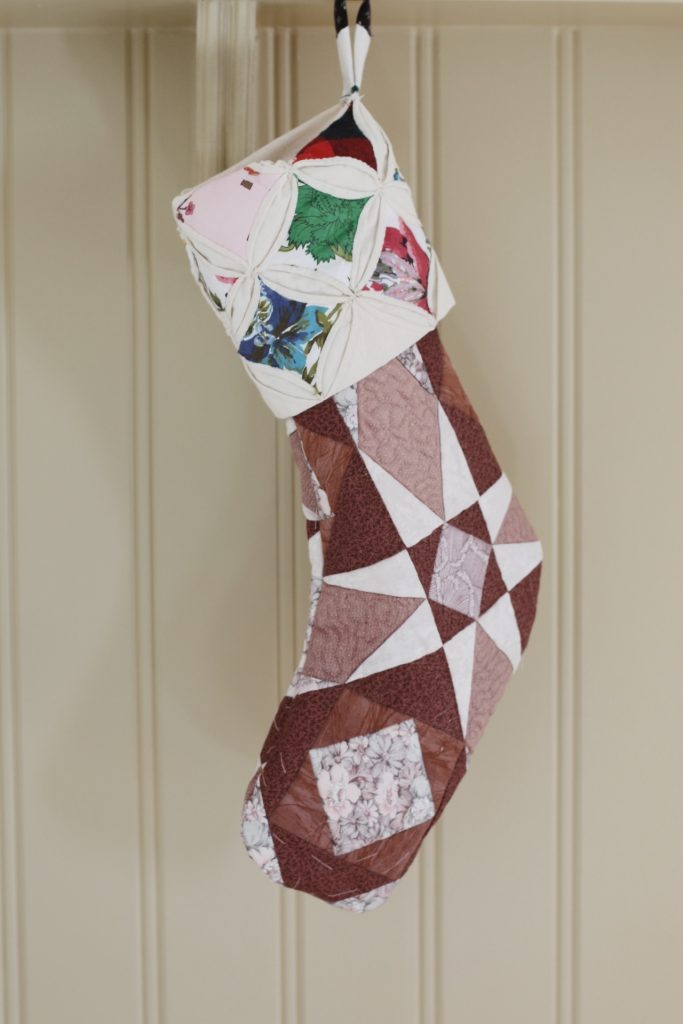
Here is the finished front & back of the stocking! I hope this post inspires you to create something handmade for your home this holiday season!
If you want to get into thrifting, but don’t know how to start, click here to download your Thrifting 101 FREE EBOOK with all of my thrift tips and tricks for beginners! And if you want to get to know me a little bit, read more here!
Thank you for following along and let me know if you sew a stocking with quilt scraps! I would love to see it!
Pin for later!
Leave a Reply