
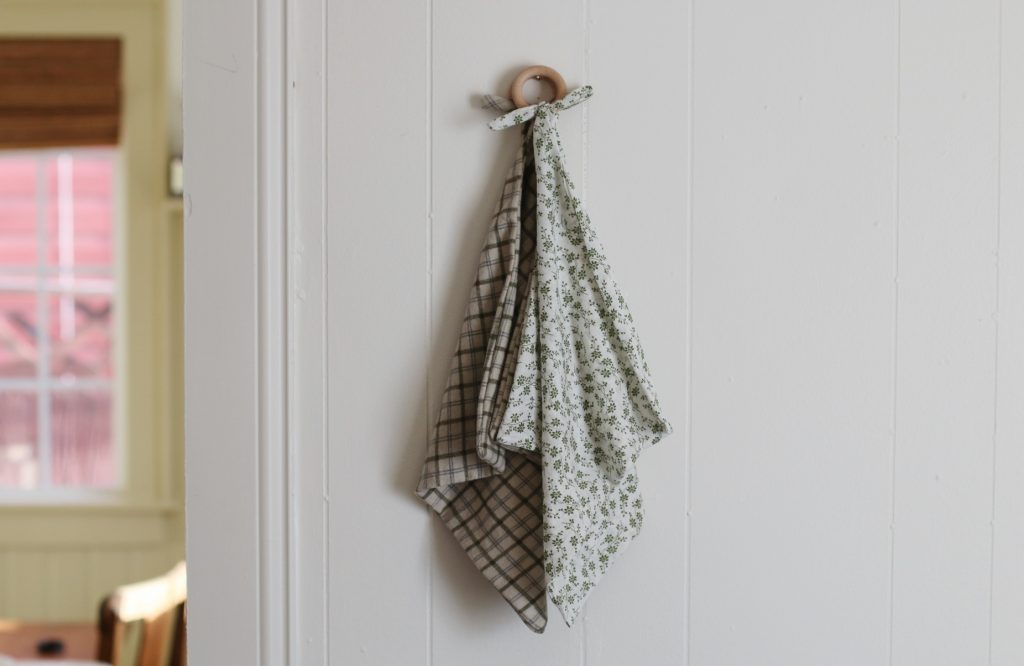
This is an easy tutorial for how to make a lovey teether baby blanket with vintage fabric!
Happy New Year, three weeks late! I took a good chunk of time away from the blog over the holidays. I didn’t really plan to take this long away, but I just kept finding new spaces in my home to purge, reorganize, and deep clean. The January house refresh definitely pulled me in.
Nevertheless, I’m back and excited to share this tutorial with you! This little project was inspired by my new niece and nephew born in 2021! I made these lovey teether baby blankets for their Christmas gifts using vintage fabric (washed, of course!).
When I started this blog, I really did not expect to do this many sewing tutorials, especially because I’m quite the amateur seamstress, but I just find them so fun! And incredibly satisfying.
Knowing how to sew pairs really well with thrifting because it provides more options for “edits” to thrift store finds, and you can find a great deal on fabric.
This sewing project is very easy and would be great for a beginner!
Materials
- Fabric (anything soft!)
- Wood teether rings
- Scissors
- Measuring tape
- Sewing machine
- Pins
- Needle & thread
- Iron & ironing board
Instructions
Step 1: Source fabric & gather materials
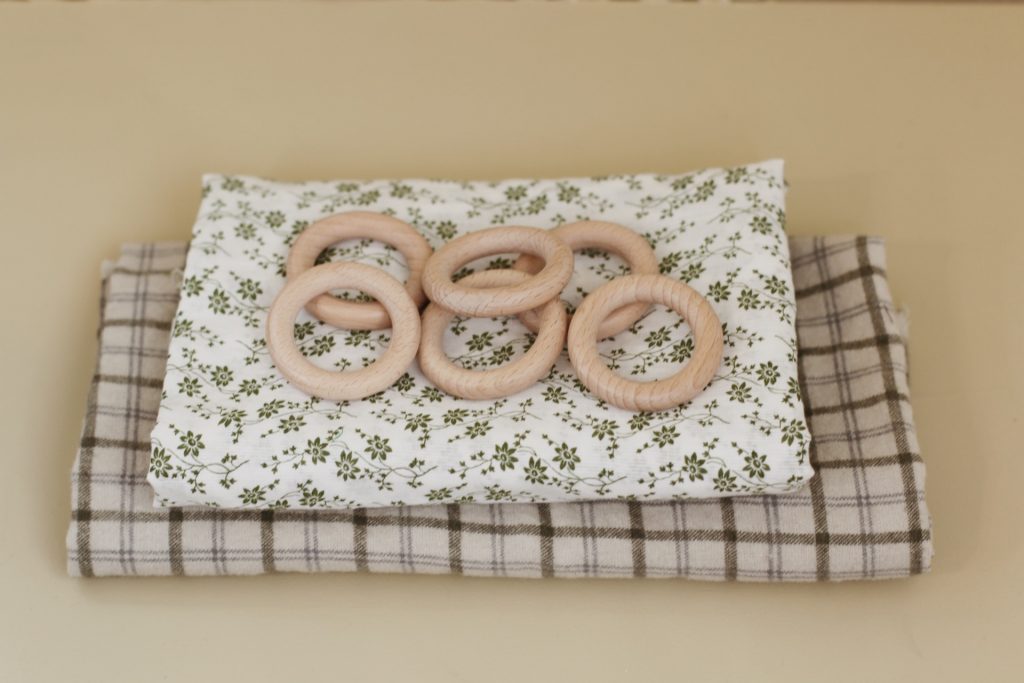
I recommend using a soft fabric, but you could use any kind of fabric for this project. I found these floral and plaid pieces at a local craft supply resale store called Who Gives a Scrap. Right when I got home, I washed the fabric well, knowing that I would probably be gifting it to babies, I wanted to be sure it was clean & safe.
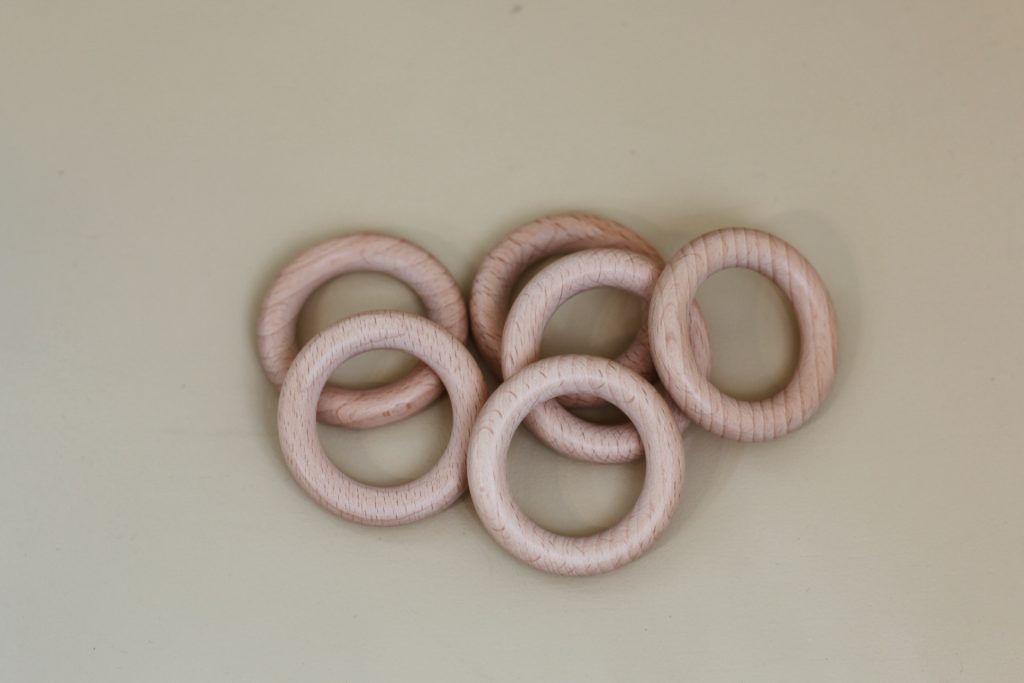
These wood teether rings I found on Amazon, but you could probably also find similar ones at a craft store or Etsy.
Step 2: Cut fabric
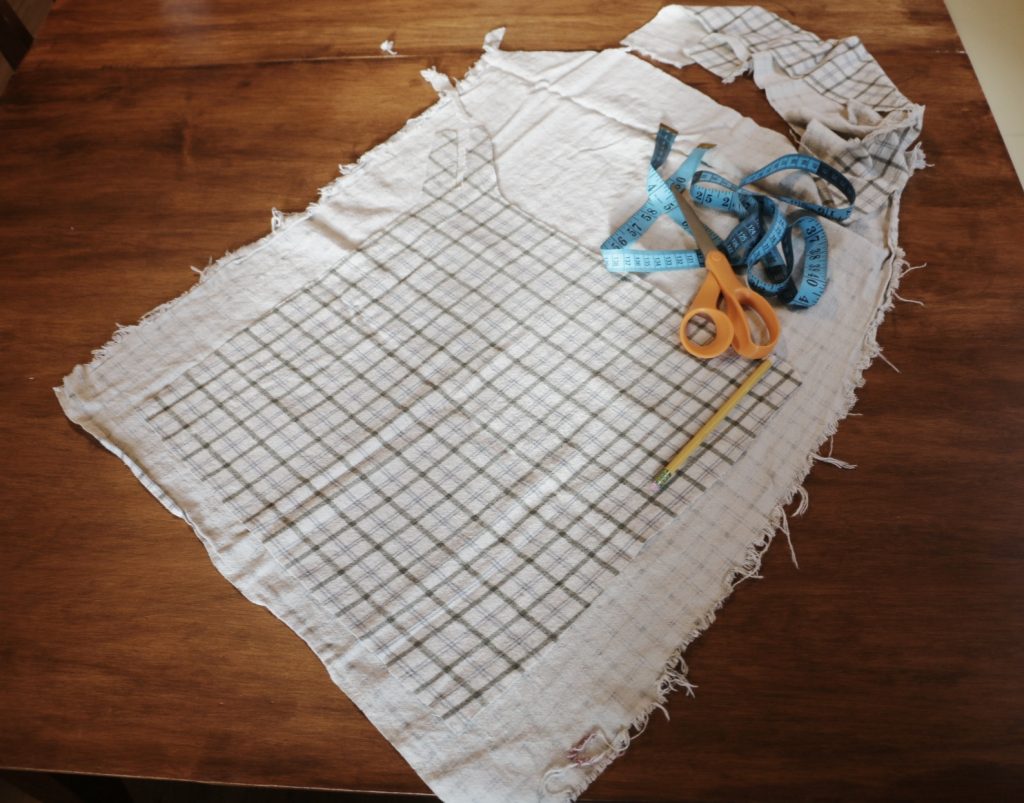
I cut the fabric to 15″ on each side. The ties(at the top of the photo above) were cut to 3.5″ long and about 1″ wide. You could make yours much larger or smaller! I found these measurements to create a “medium” size baby blanket.
Step 4: Pin & sew right sides together
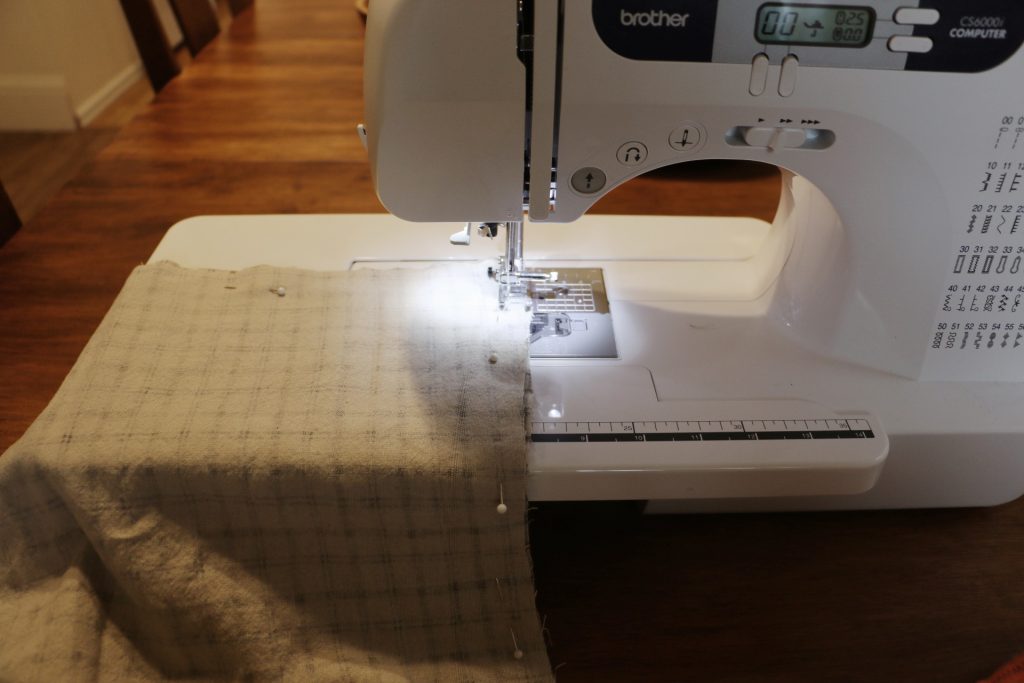
Next, lay right sides together and pin. Then, you are ready to sew! I sewed almost all the way around, including the ties, leaving an opening near the bottom of the blanket large enough to flip it inside out, about 2″.
Step 5: Turn inside out and sew opening together with ladder stitch
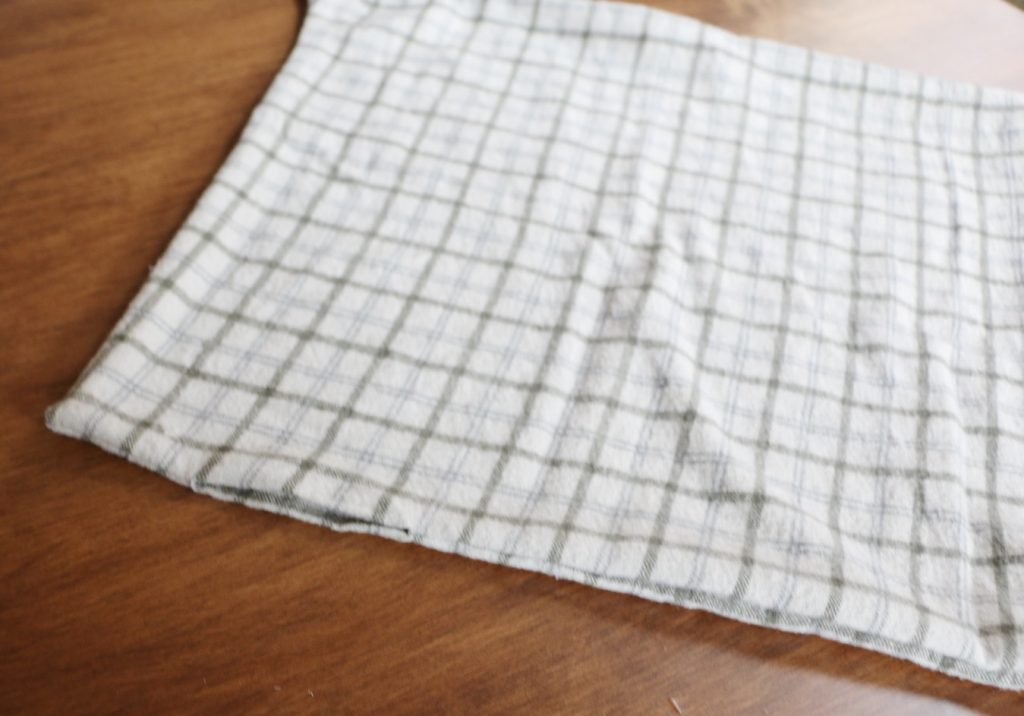
After I flipped the blanket inside out, I sewed up the opening using a ladder stitch. This stitch is my favorite for closing up holes. Here is a Youtube tutorial showing how to do a ladder stitch.
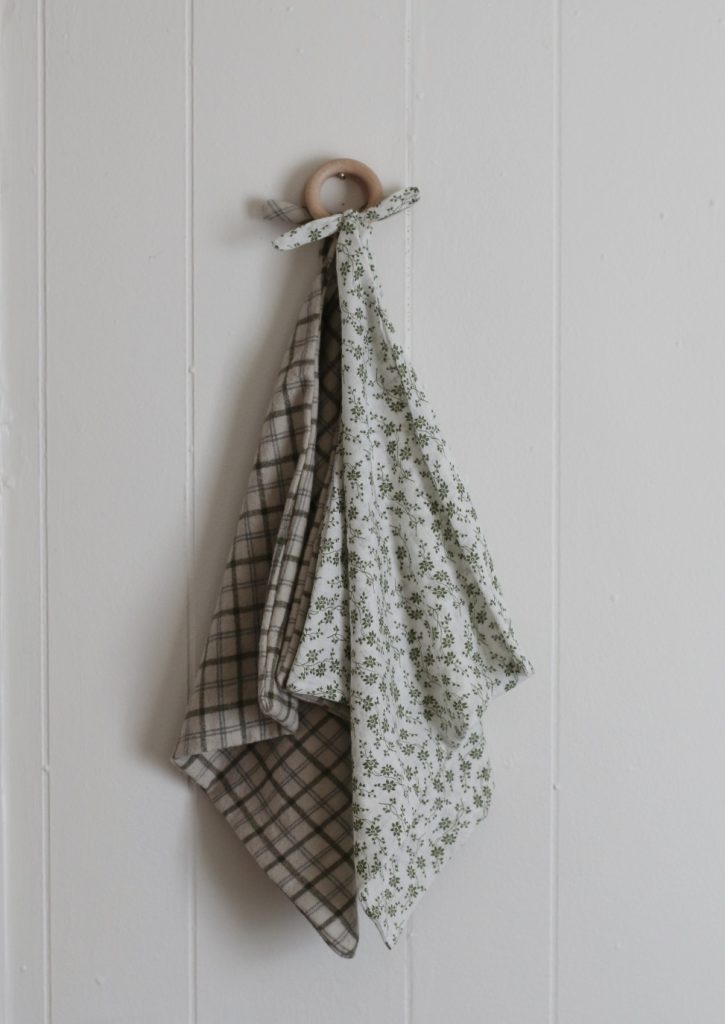
Step 6: Iron, if needed & tie to teether ring
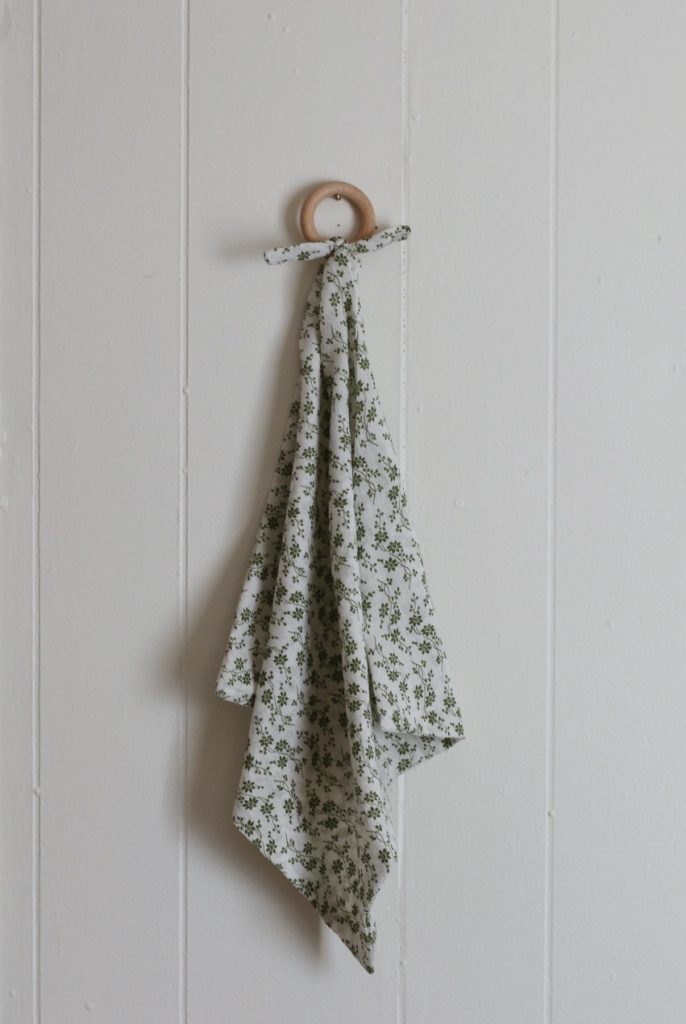
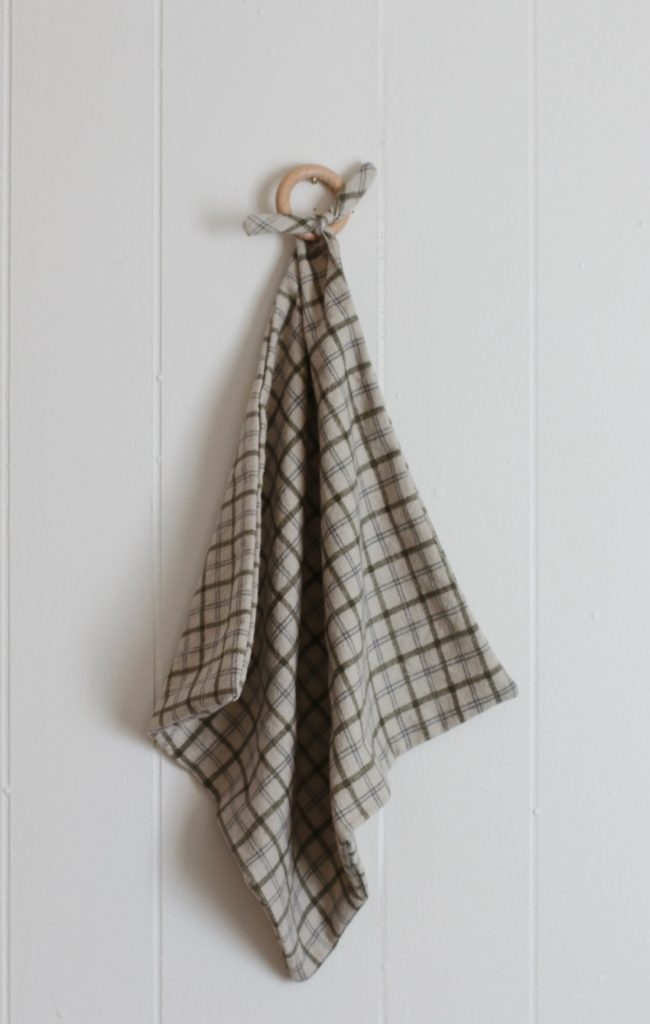
Lastly, I ironed the blanket and tied it to the wood teether ring with a double knot. I did not sew the knot because I wanted to be able to remove the blanket to wash without the ring if needed. However, you could put a stitch in the knot so that the blanket would be fixed to the ring.
These lovey teether baby blankets would be a perfect baby shower gift! Please let me know in the comments or on Facebook or Instagram if you make a lovey teether baby blanket! I would love to see it!
If you feel overwhelmed with the idea of thrifting, check out this blog post, or download your Thrifting 101 FREE Ebook here for all my thrifting tips and tricks.
More Sewing Tutorials
How to Sew a Stocking with Quilt Scraps
How to Sew a Baby Dress Without a Pattern
Leave a Reply