
This post is a simple tutorial for how to make a DIY changing pad cover with secondhand fabric.
With another little one on the way, I’ve been inspired to sew a few more baby items to have on hand! I think nesting has hit me early this pregnancy. I keep thinking of things I want to sew for this baby and for my toddler, but it’s hard keeping up with all the ideas!
The next project I’m daydreaming about is making a kantha crib size quilt for each of them. But I’m starting with the easier things to sew in the mean time.
This DIY changing pad cover is a very simple tutorial. Even if you are a beginner sewer (like me!) you can make this. Also, I plan to sew a few crib sheets using this same method very soon!
Changing pad covers aren’t all that expensive to buy new. However, it is a simple thing to make at home that adds a special touch to your baby’s nursery, and you easily can match other nursery decor with your choice of fabric.
Also, if you use secondhand fabric you will definitely save money versus buying a new cover. Just wash before use, and you’ll be good to go!
Step 1: Source fabric & gather supplies
This sweet dotted diamond fabric is from Who Gives a Scrap (a local craft scrap store). I thrifted it for a DIY Lovey Teether Blanket that I made to send to a dear friend who is having a baby in a few months. I had the perfect amount left over for this little project.
Supplies
- Sewing machine
- Piece of fabric at least 44″ X 32″
- 45″ long elastic (1/4″ or 3/8″ elastic)
- Tape measure
- Thread
- Scissors
- Pins
Step 2: Cut fabric to 44″ X 32″
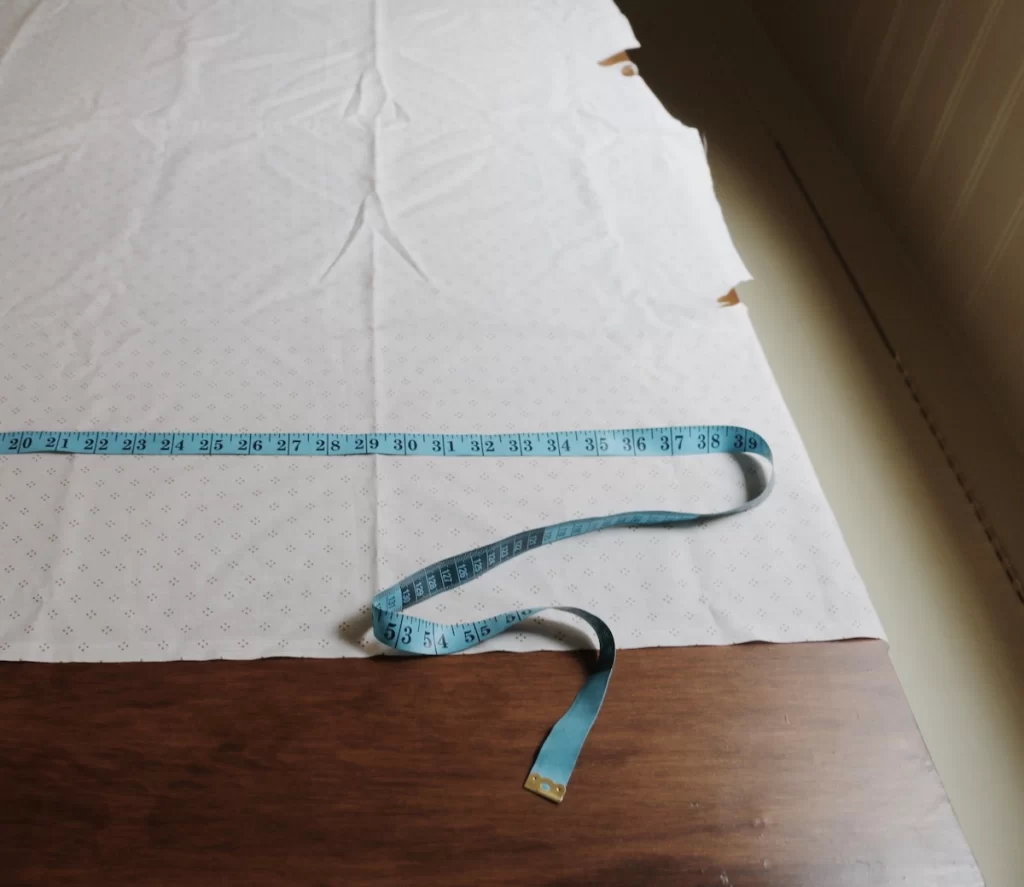
First, cut fabric to 44″ x 32″. This is for a standard changing pad. I also ironed my fabric before cutting to make sure it was smooth.
Step 3: Sew raw edges
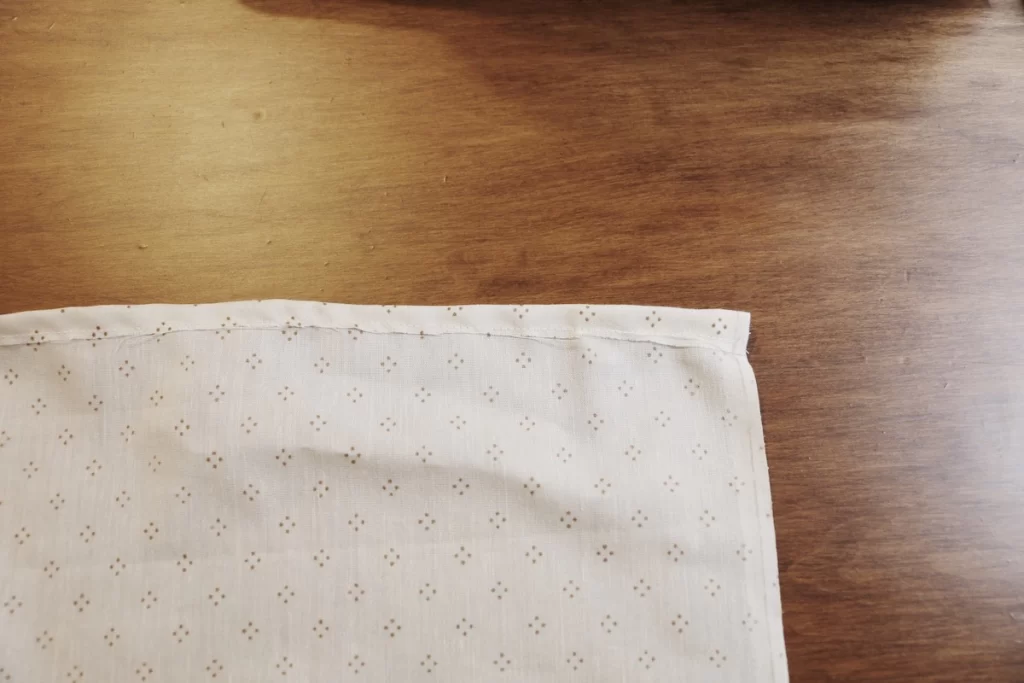
Next, I finished my raw edges with a simple straight stitch and 1/2″ seam allowance to prevent fraying. I did not not finish the selvedge edges because they are already protected from fraying.
Later, you will sew the elastic over this hem & the selvedge edges so don’t worry if it still looks “unfinished” at this point.
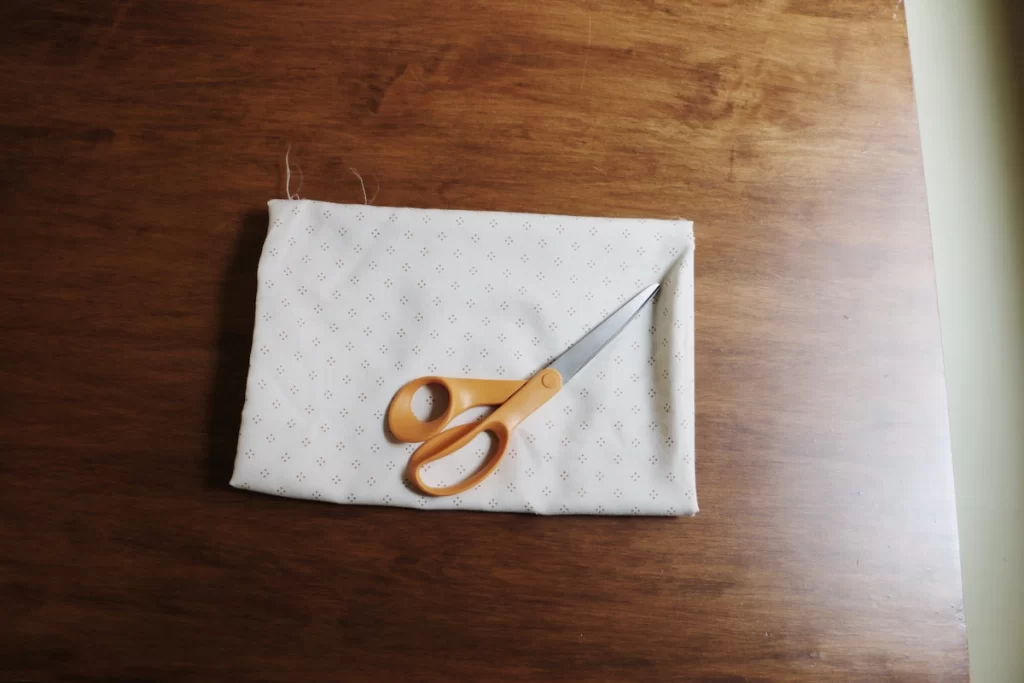
Step 4: Line 4 corners up & cut 8″x 8″ square
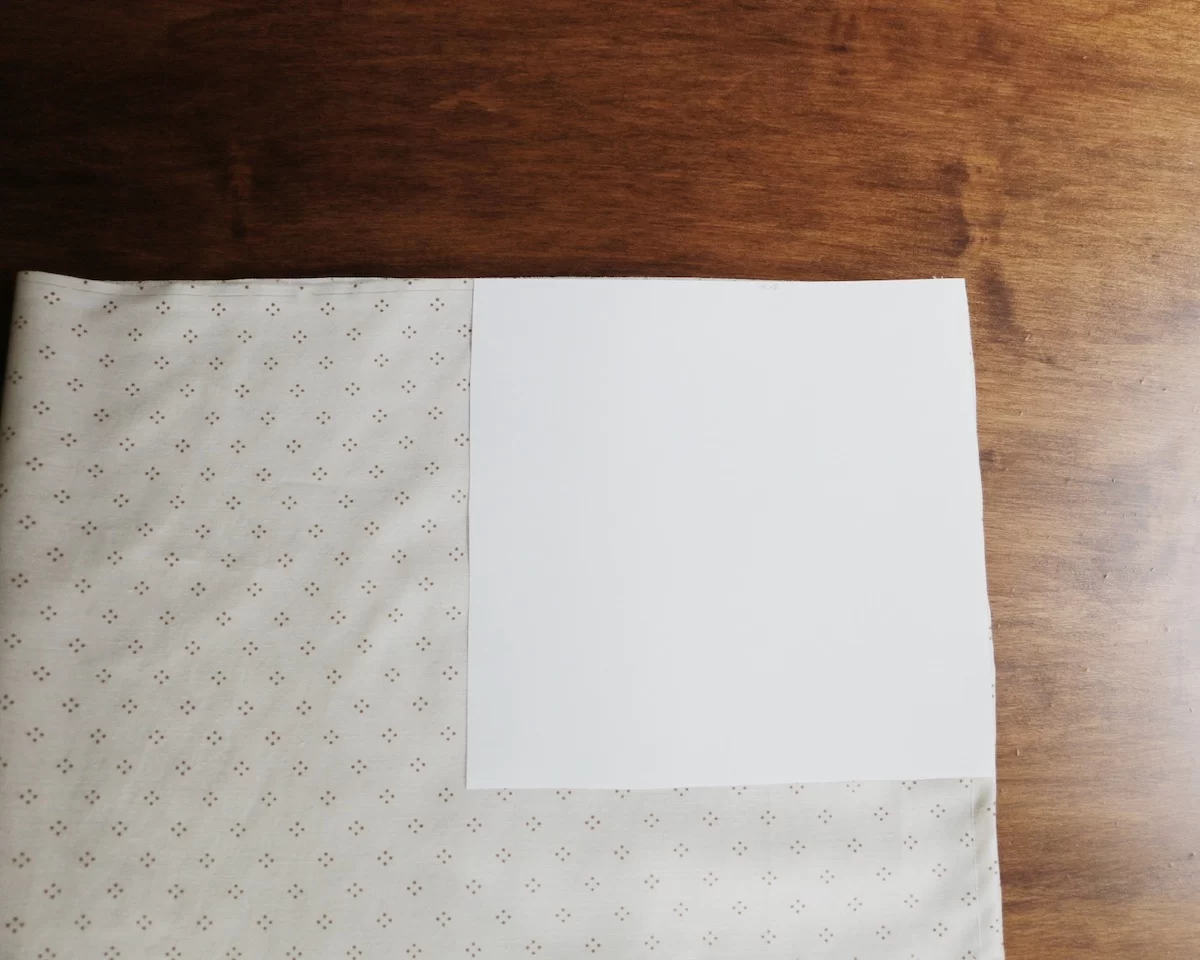
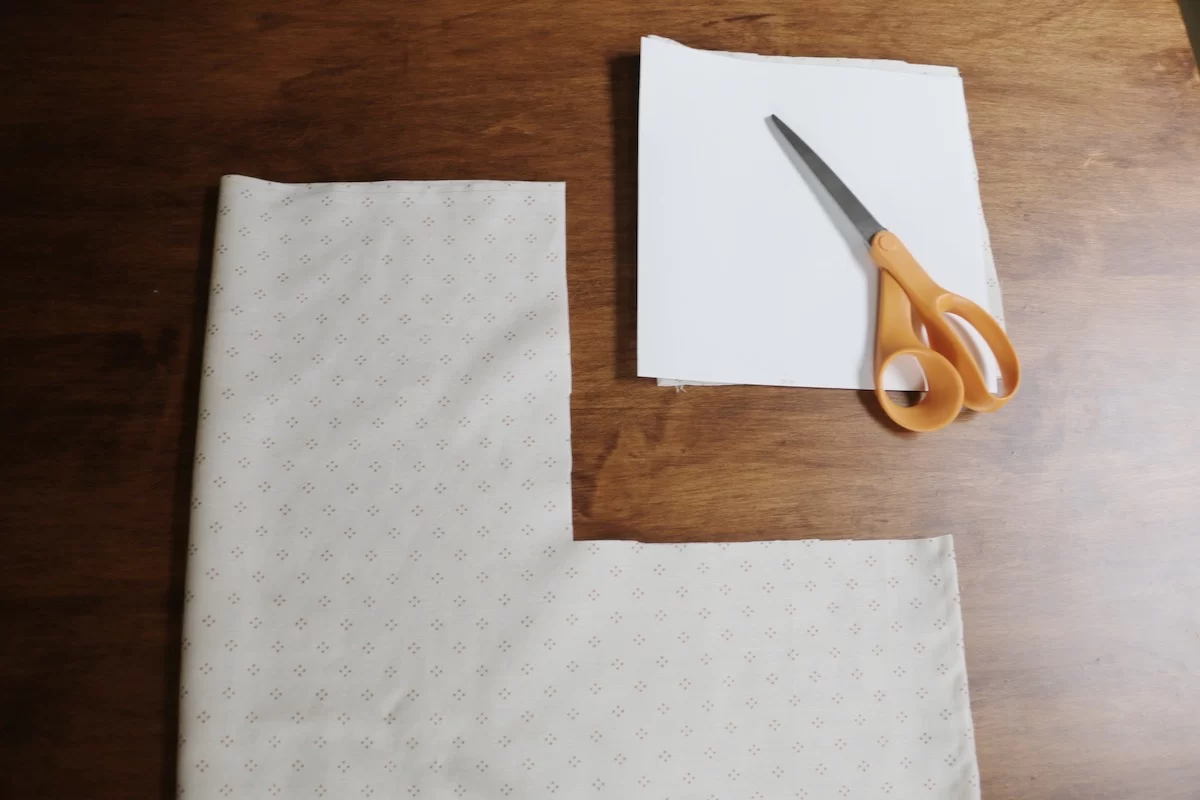
Then, I cut out an 8″x 8″ paper square. You don’t need to do this, but I wanted to have it on hand for sewing future changing pad covers and crib sheets.
Line up all four corners of your fabric, so they are stacked on each other. Cut out an 8″ x 8″ square where the four corners come together. It’s okay that you are cutting into the finished edge that you created, it will all come together in the end.
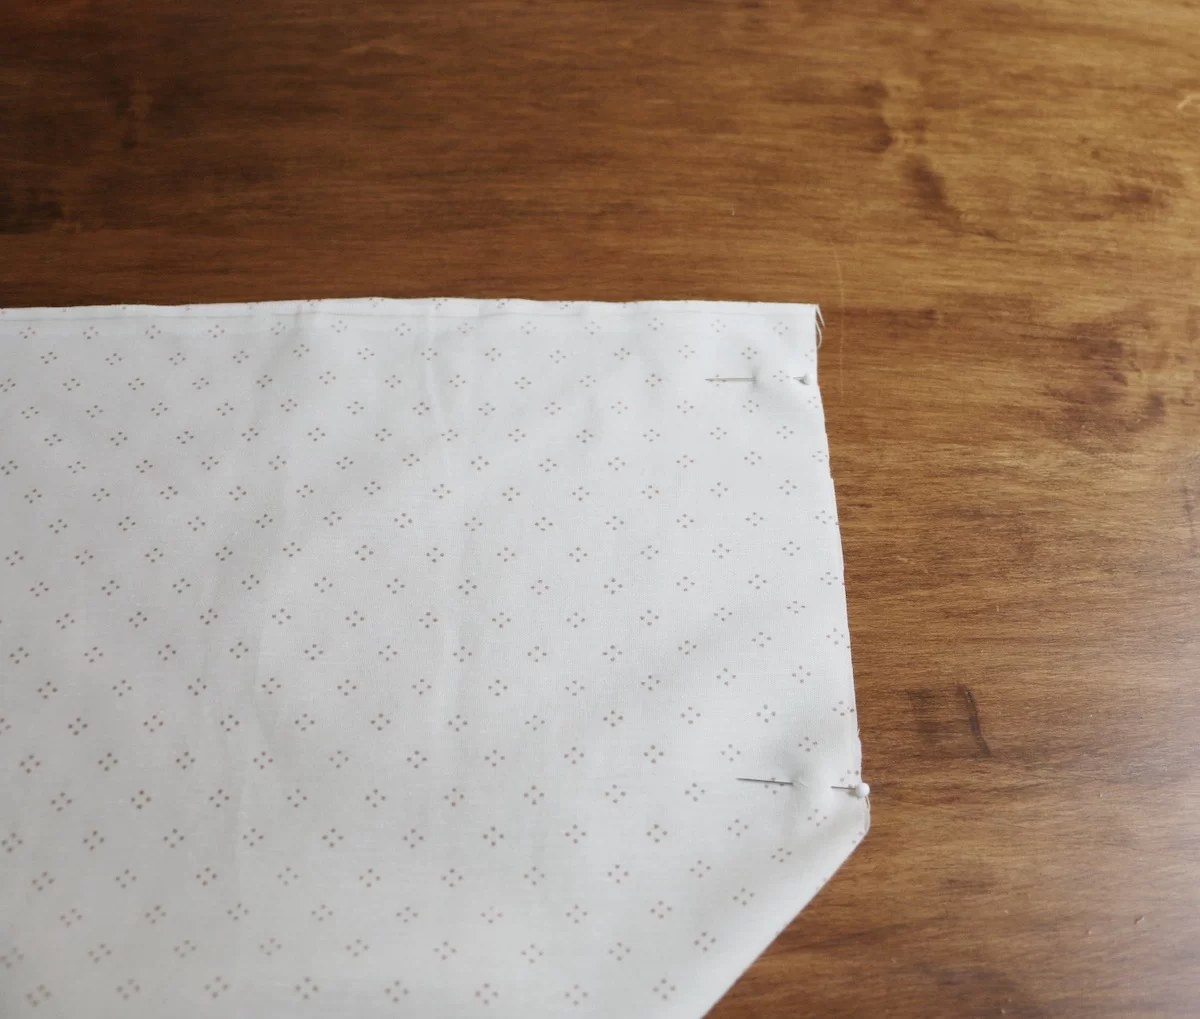
Step 5: Fold right sides together and sew straight stitch
Next, unfold the fabric. Match right sides together for each cut out corner and pin in place. The left photo below shows how it should look at this step. Then, sew a straight stitch over these raw hems for each cut out corner.

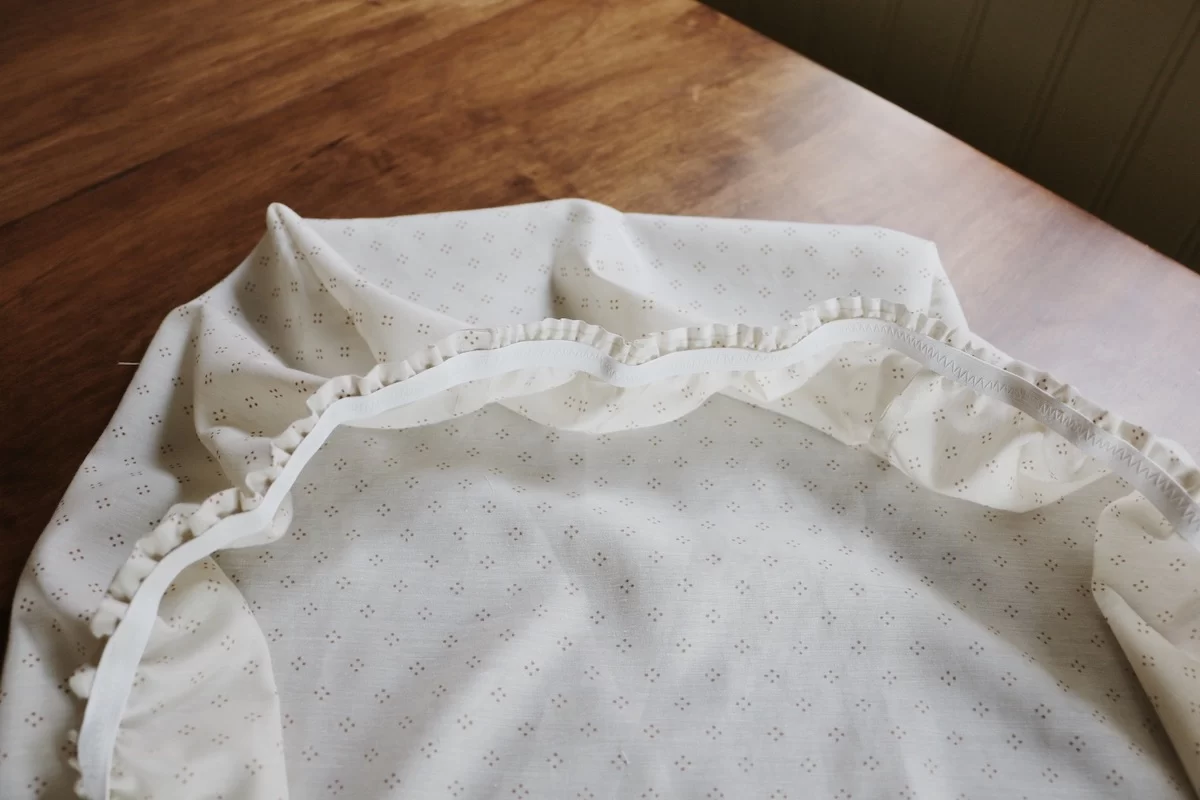
Step 6: Sew elastic with zig zag stitch
Lastly, sew elastic all the way around the edges with a zig zag stitch. I used 1/2″ inch wide elastic because that is what I had on hand. But I would encourage you to use 1/4″ or 3/8″ for a better fit. About 45″ long should give you plenty of elastic.
If you’d like a more “finished” look, you could forgo this step and sew an elastic casing instead. Then, use a safety pin to thread the elastic through the elastic casing, sew ends of elastic together, and finish the casing with a straight stitch.

I set my machine to a zig zag stitch with a length of 4.5 because I was using a wider elastic, but if you use 1/4″ or 3/8″ elastic, you can set it to about 3.5.
This step is the most challenging of all because you have to stretch the elastic as far as you can while sewing it down. After I made the first initial stitches, I pulled the elastic as far as a could, while continuing to sew and using my other hand to pull the elastic and fabric through from behind the machine.
In the photo below, the elastic is placed directly over the seam from step 3. You will need to manually adjust this as you simultaneously pull the elastic and sew it to the fabric.
You will notice the fabric starting to bunch up as you sew the stretched elastic to the fabric.
Keep going all the way around the edges until you end up where you started. Overlap the elastic 1/2″ or so and finish the stitch.

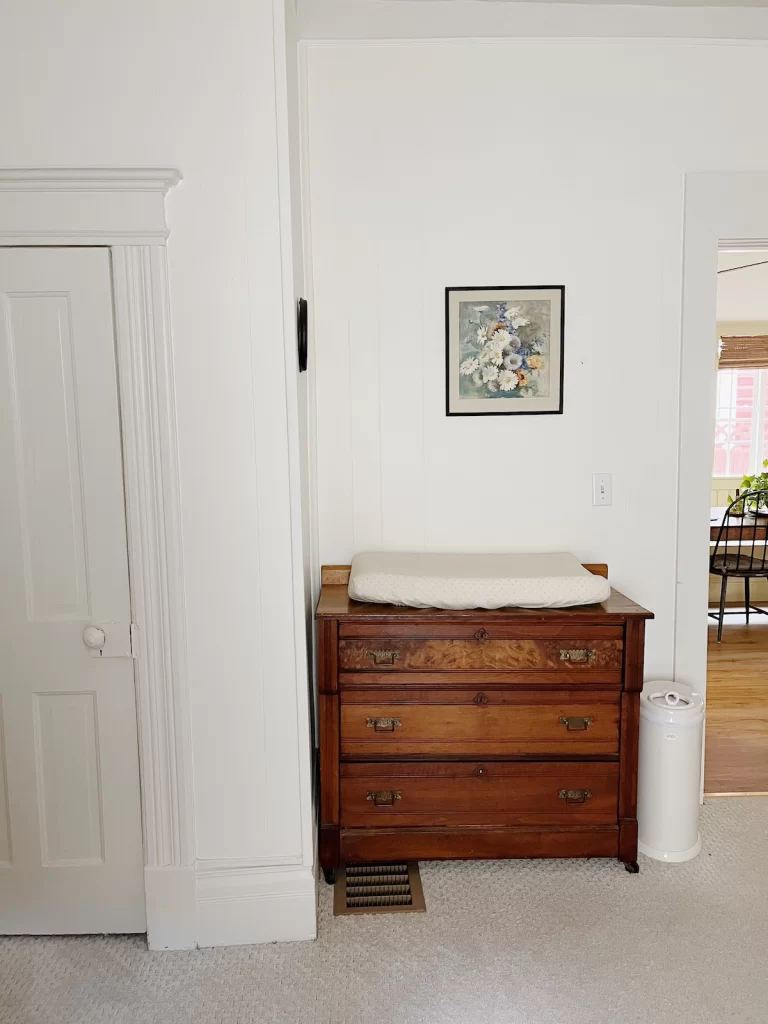
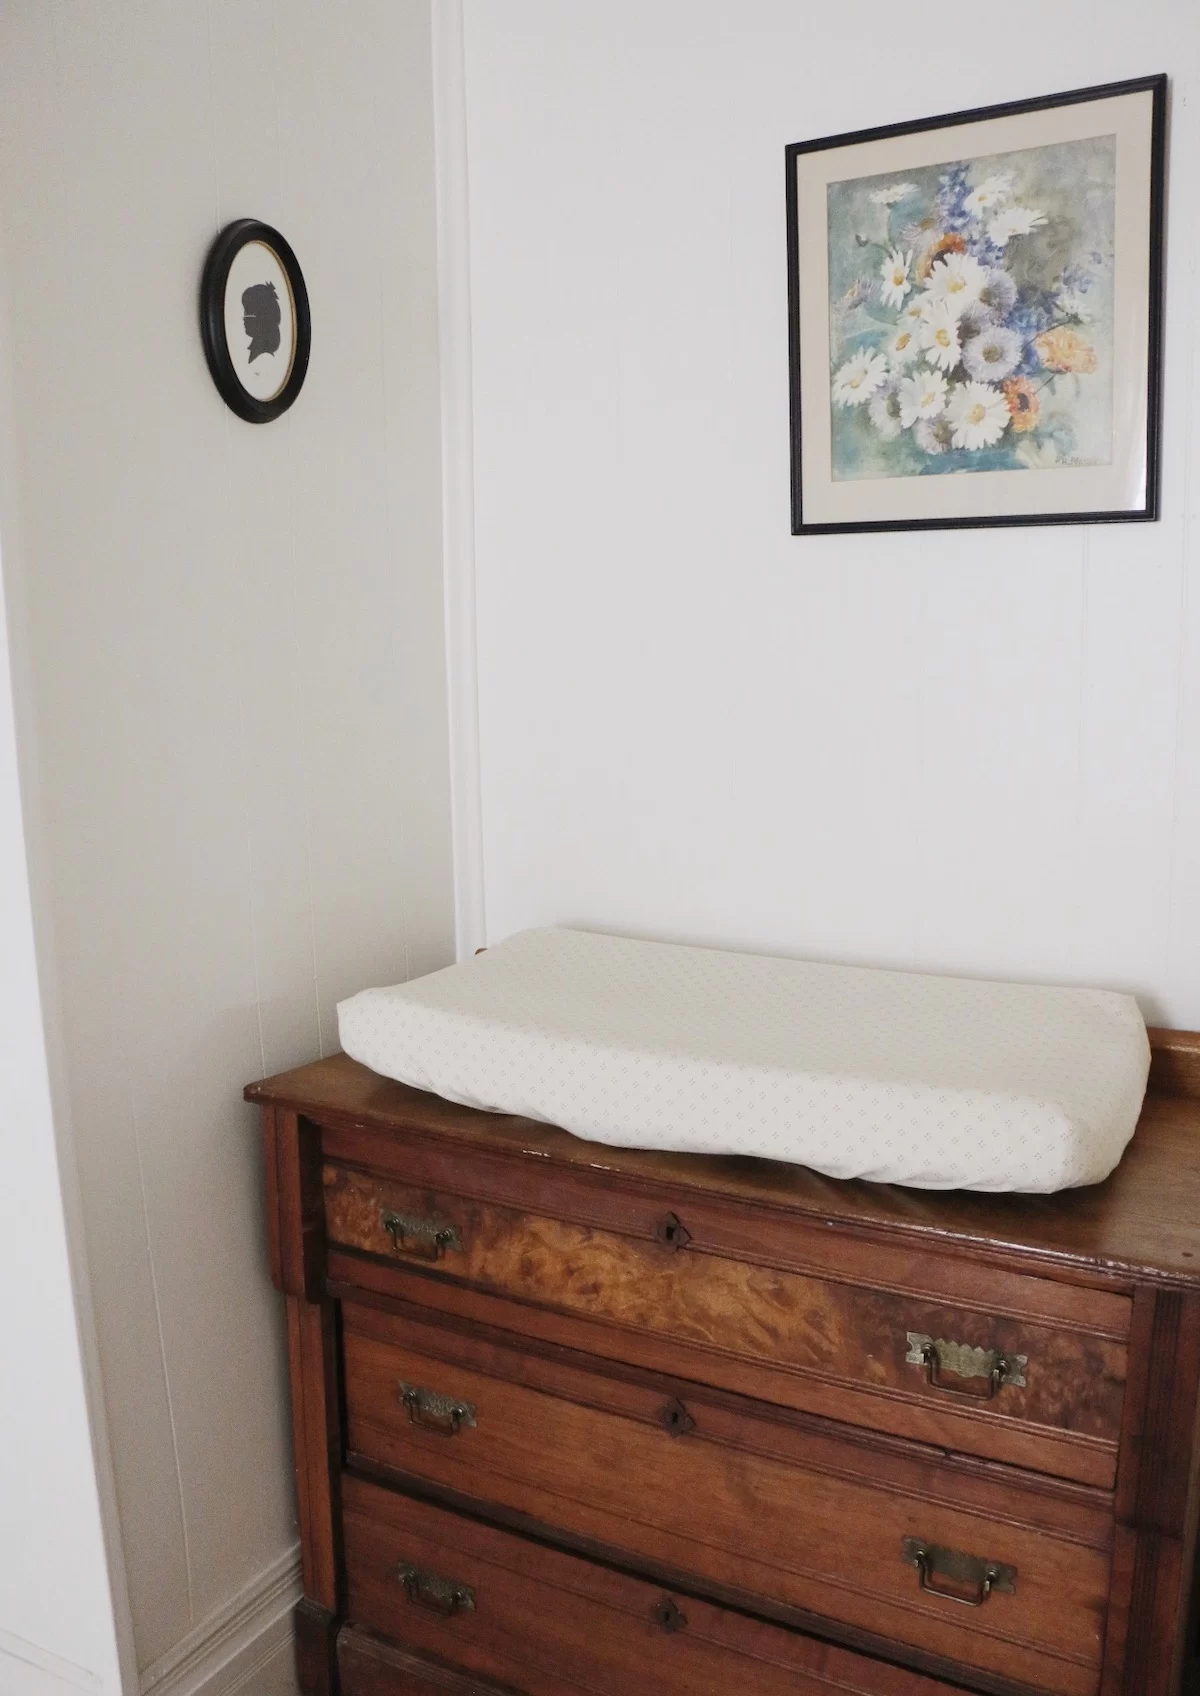
Then, try it out on your changing pad! It should look something like the photos below when you are finished.

Finished DIY Changing Pad Cover
Enjoy your new changing pad cover! It’s wonderful to feel the satisfaction of a finished project. It only took me about about one nap time from start to finish (& to stop to take photos), so it will be a breeze for you! I would recommend washing on a gentle cycle and tumble dry low.


Please let me know in the comments below, or on Instagram if you make a DIY changing pad cover, and have any questions! Would love to see the finished product in your baby’s nursery!
Other Sewing Tutorials
- How to Make a Lovey Teether Baby Blanket
- How to Sew a Stocking with Quilt Scraps
- How to Sew a Baby Dress Without a Pattern
Pin for later
Leave a Reply