
This is a tutorial for how to sew a baby dress without a pattern using thrifted fabric!

I love checking out the linens at the thrift store and recently, I found a cute dainty floral fabric that I loved. My daughter’s first birthday is in less than a week and I’ve been wanting to make her a little dress, so I thought what better way to use this lovely fabric than a 1st birthday dress!
Disclaimer, I am not an experienced seamstress AT ALL. This tutorial is for someone who knows the basics of how to sew and wants to try their hand at making a dress. This is a DIY approach to sewing, as I kind of pieced things together as I went along. All that to say, this is a tutorial that shares with you a “bare bones” way to sew a baby dress without a pattern.
This method uses a “template dress” as a stand in for a pattern. So you will need to find a dress that you like the cut and style. I thrifted this Old Navy dress and used it for my “template dress.”
Materials:
- A “template dress”
- Fabric for new dress
- Lining fabric for new dress (optional)
- Sewing machine
- Scissors
- Pins
- Safety pin
- Iron & ironing board
Instructions
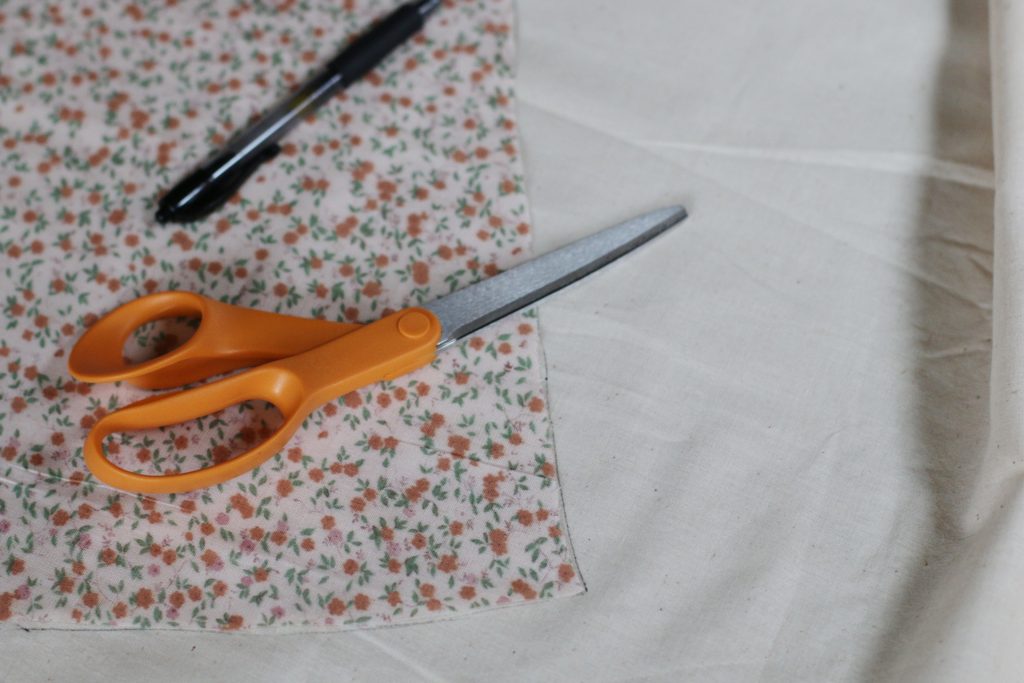
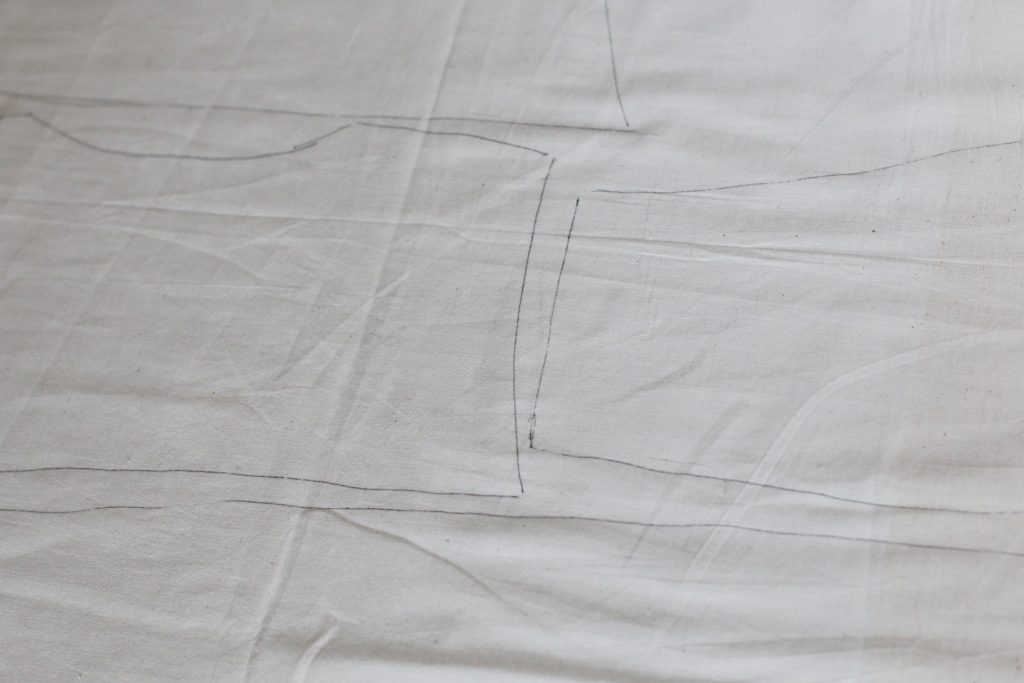
Step 1: Lay template dress on fabric, trace pieces, and cut
The first step is to lay the template dress over the fabric and trace each piece to create a stand in pattern. I traced the skirt, bodice, collar, and sleeves of the template dress.
The thrifted fabric was folded in half so each piece is doubled when cut, one for the front of the dress and one for the back. When tracing, include a seam allowance of 1/2″ – 1″, as shown in the photos.

Here are the pieces all cut out! The skirt is gathered at the empire waist so I added about 2″-3″ on the top cut of the skirt. Also, I cut the back panel for the bodice in half so that I could add a tie to fasten the dress at the end. You could also use a button or a snap.
Step 2: Cut out lining pieces
Next, cut out the lining pieces. This step is optional depending how thick your fabric is, and if you prefer the inside seams to show or not. I chose to do a lining for the whole skirt of the dress and for the front panel of the bodice. I did not include a lining for the back panels of the bodice or the sleeves.
Step 3: Finish raw hems and sew lining to fabric

Step 3 is to finish the raw hems and sew the lining to the back of the fabric. I finished the hems of the sleeves at the wrist, the skirt of the dress at the bottom, and the neckline of the front and back bodice panels.
Next, I attached the lining to the skirt and front bodice panel. However, I did not attach the neckline seams of the fabric and lining for the front bodice panel so that I could add a collar in between them later.
Step 5: Sew skirt of dress to bodice
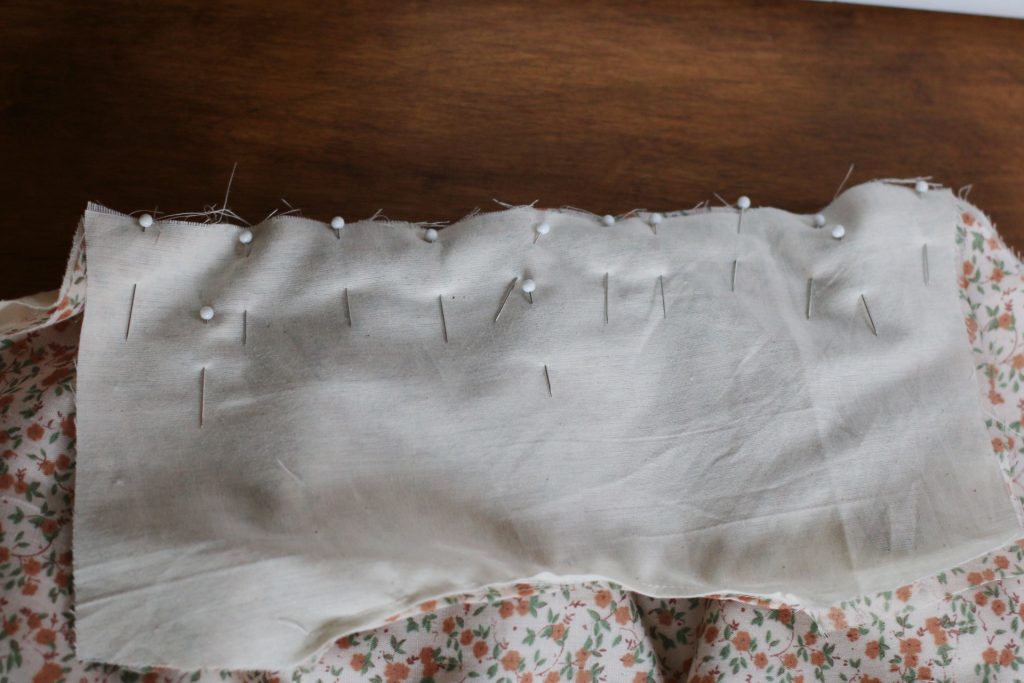

Next, you will sew the skirt of the dress to the bodice. The ideal stitch for this step would be a gathering stitch, but I decided to make my own gathering with pinning.
As shown in the photos, I pinned both ends right sides together, then placed a pin in the middle, and then kept pinning, as I gathered each side equally. Repeat with back bodice panels and skirt, using a gathering stitch or pinning.
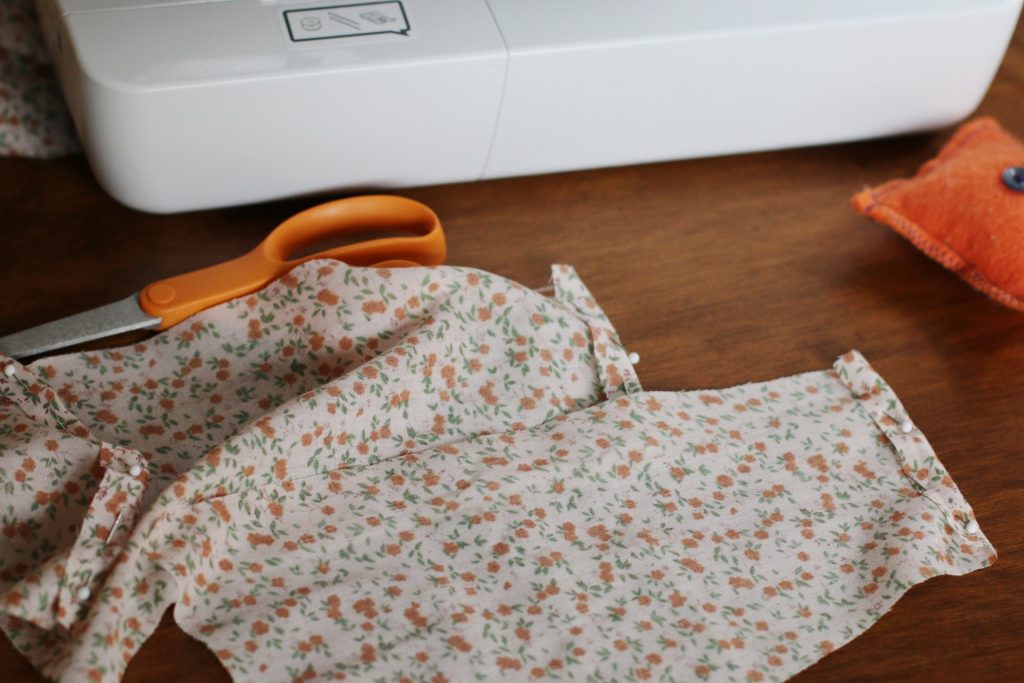
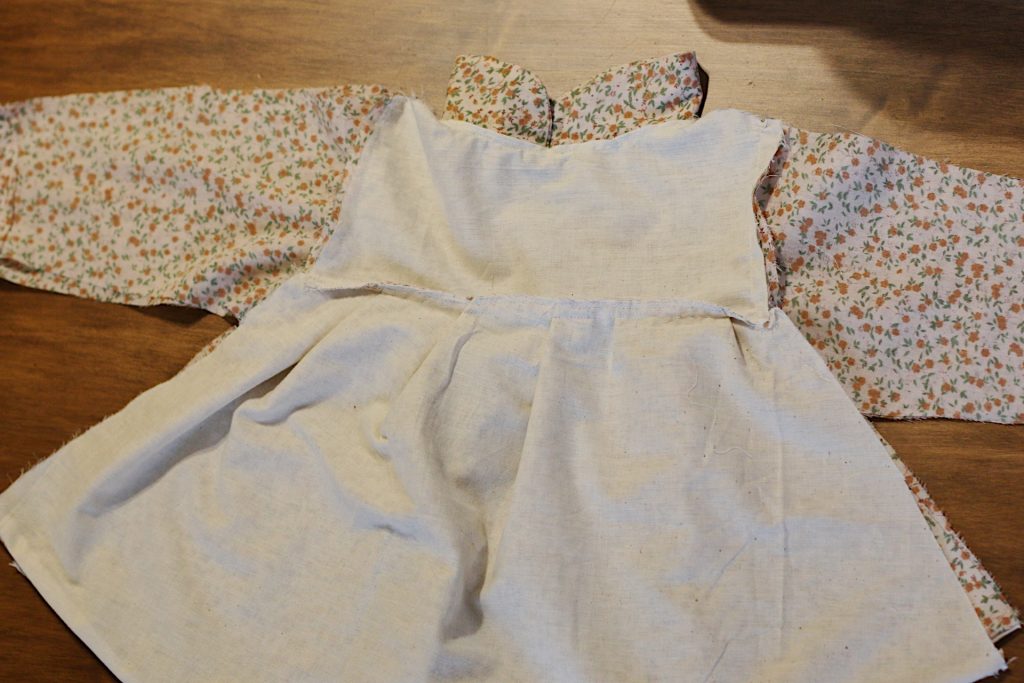
Step 6: Sew sleeves to bodice
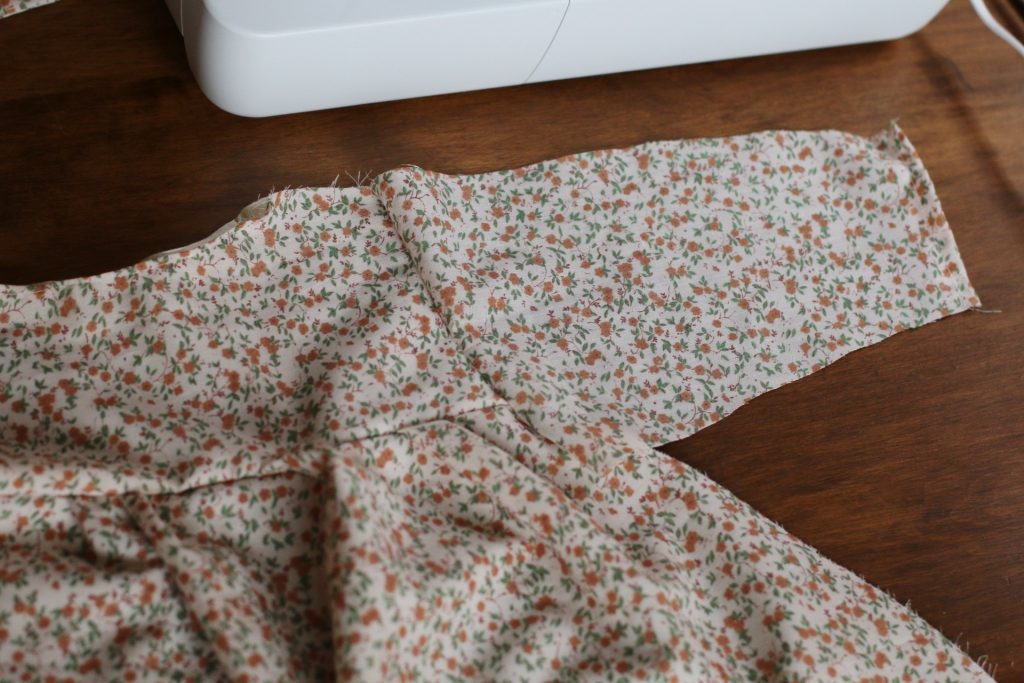
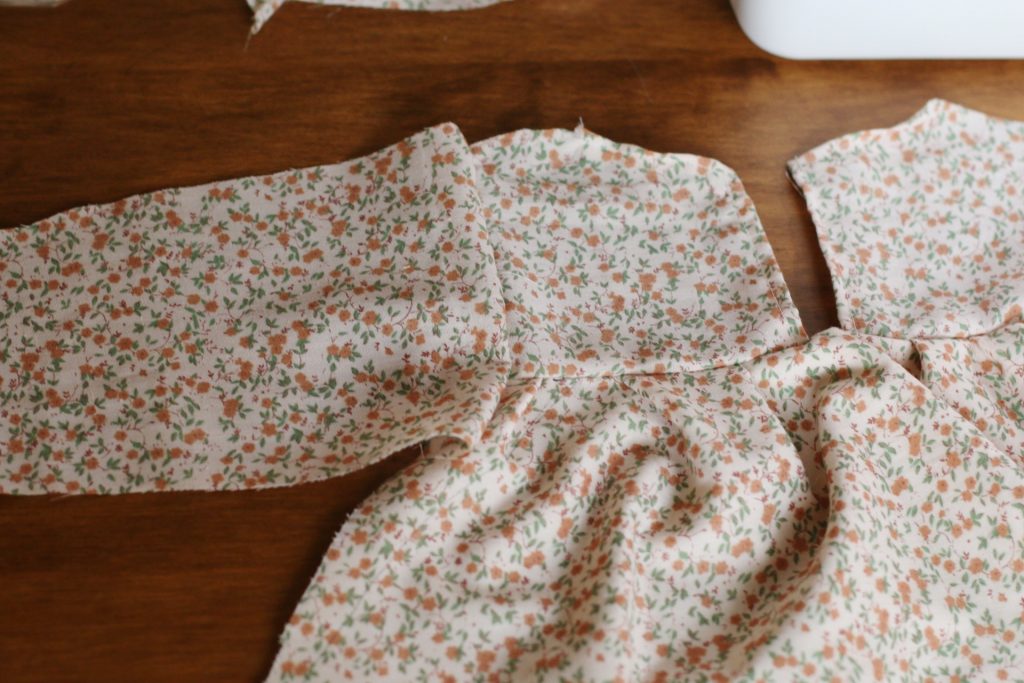
Next, sew the sleeves to the now attached bodice & skirt of the dress. The photo on the right shows the two panels for the back of the dress.
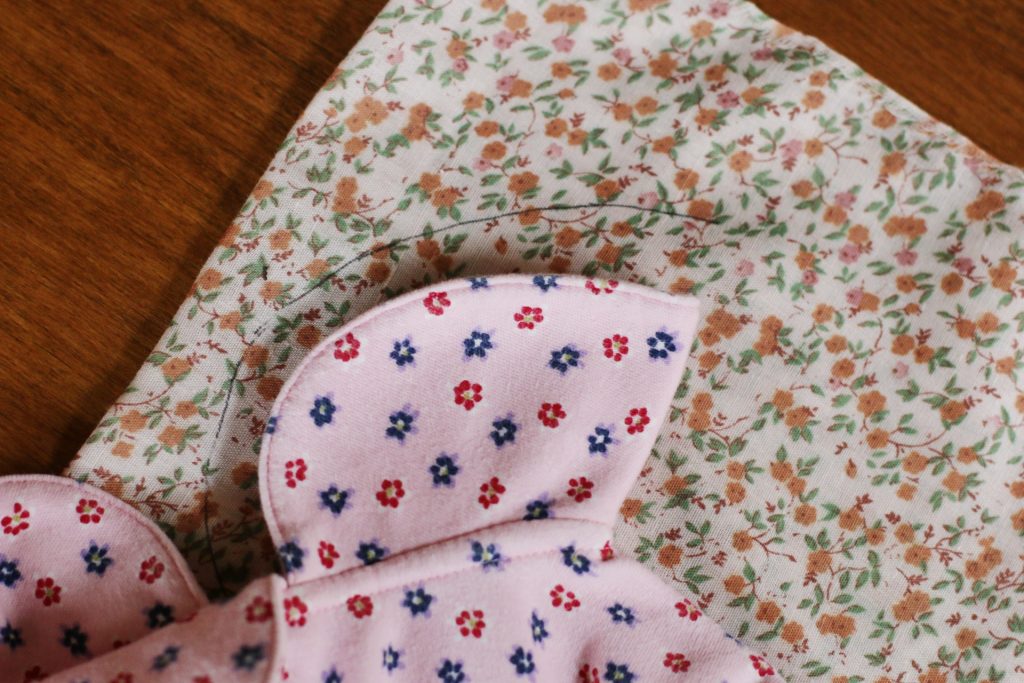
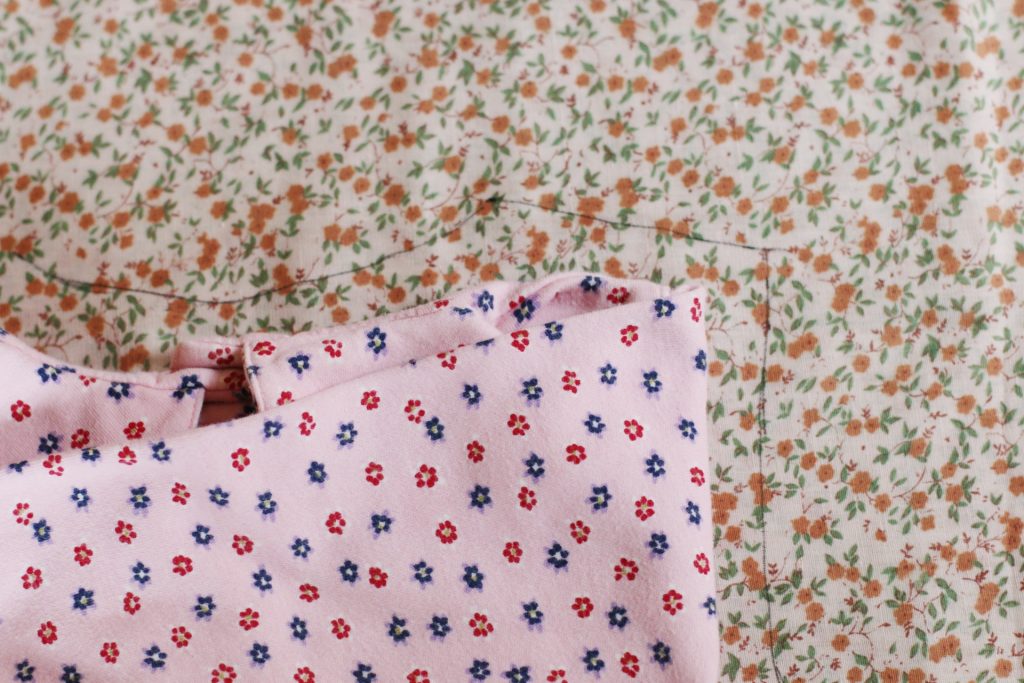
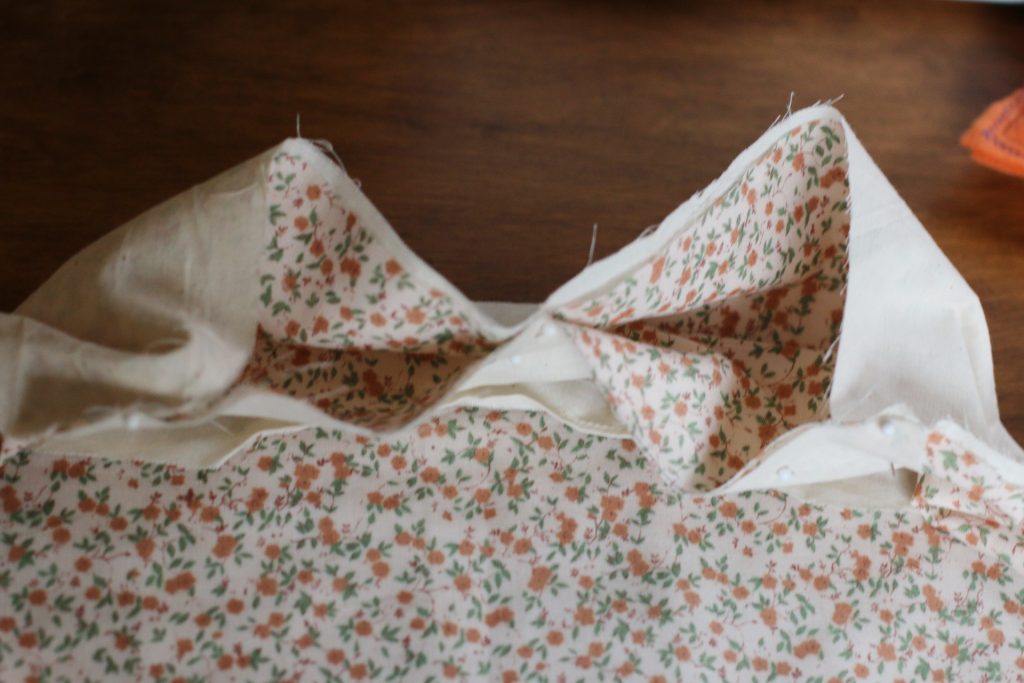
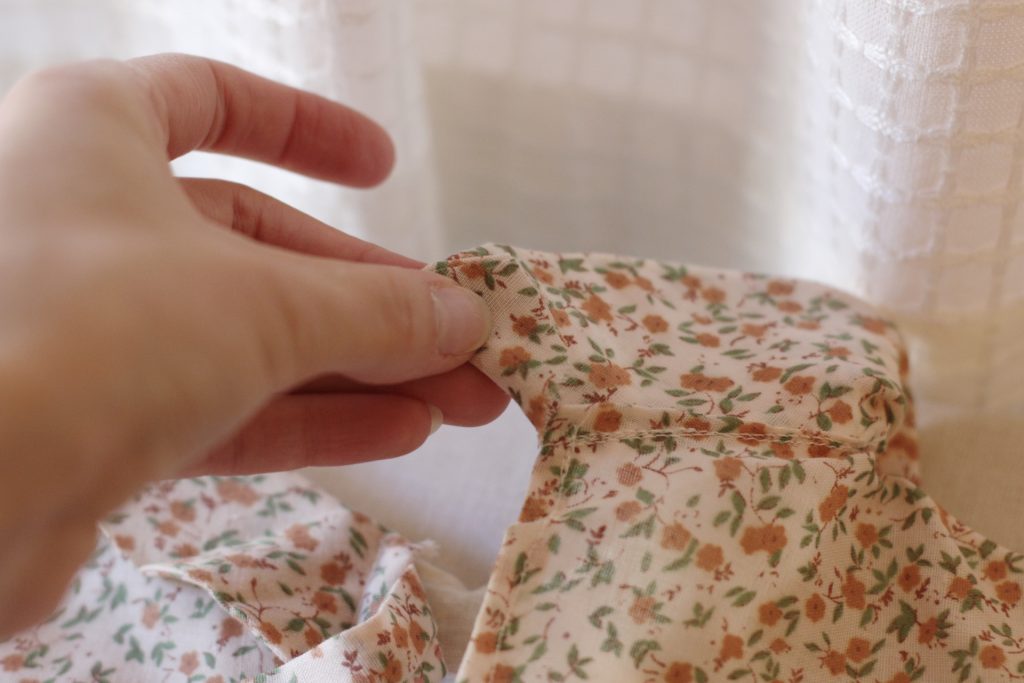
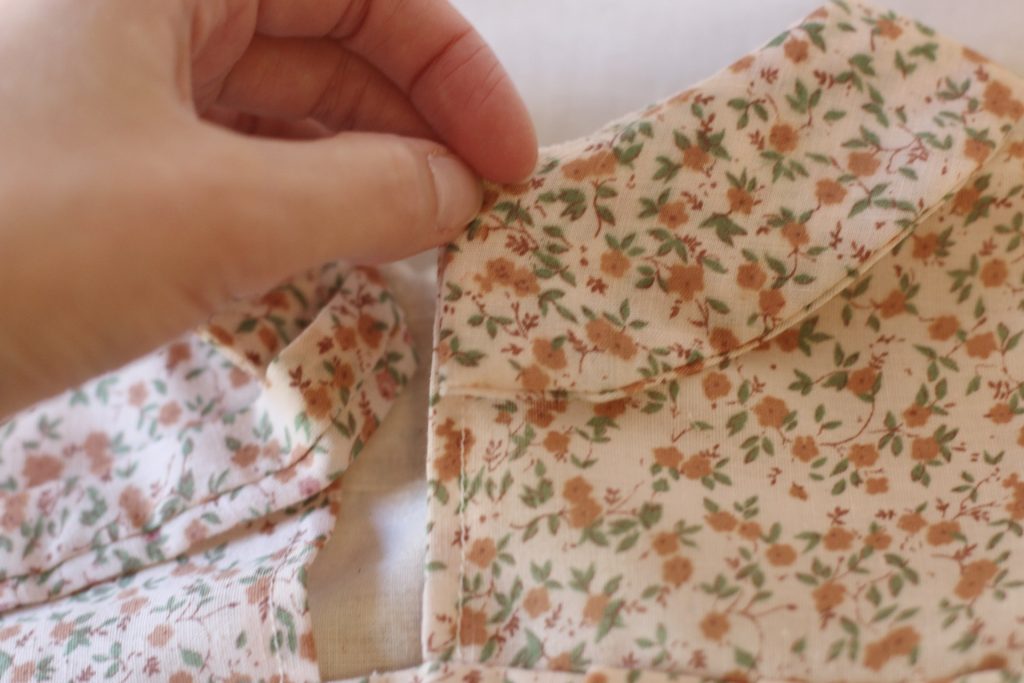
Step 7: Sew collar to neckline of dress
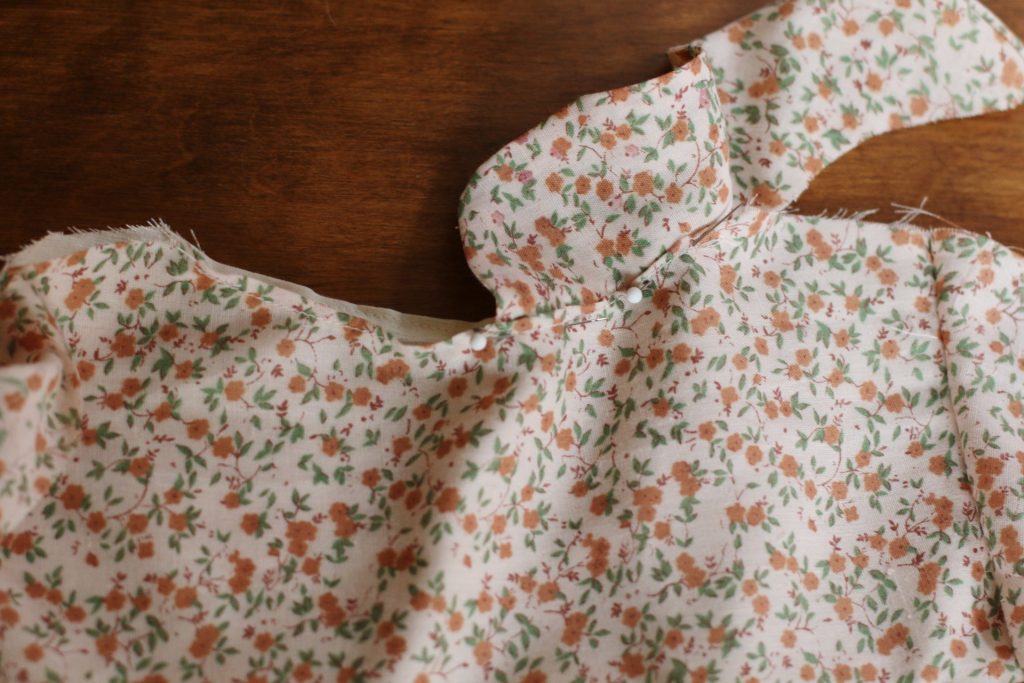
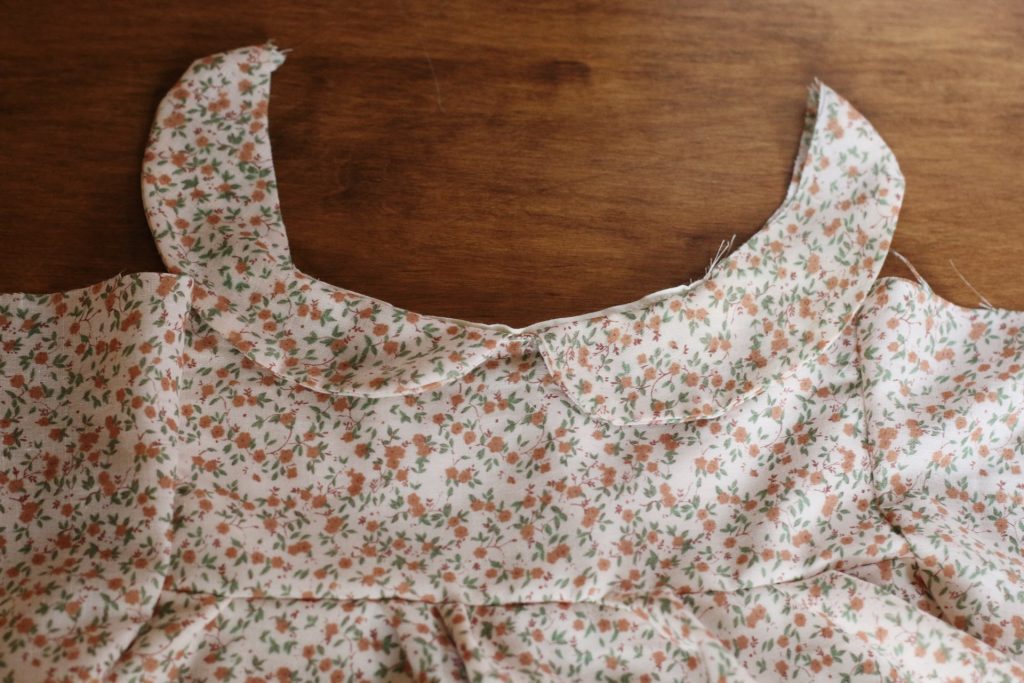
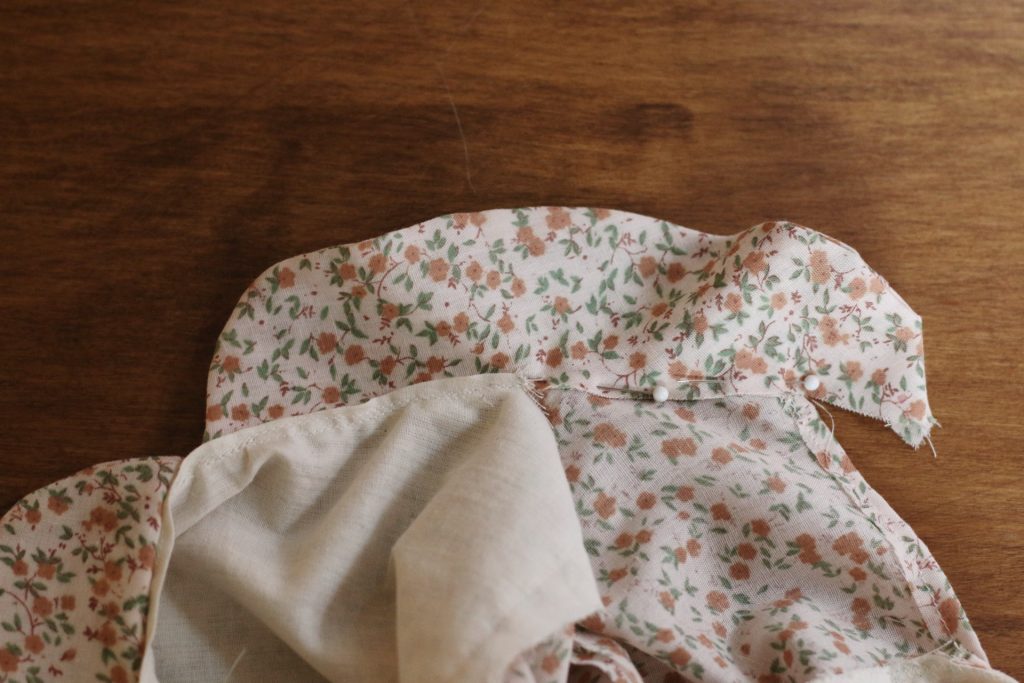
Step 7 is to sew the collar to the neckline of the dress. Before you sew it, you will sew the collar pieces right sides together and turn it inside out. Then you are ready to attach it to the neckline. I started in the front, pinning the collar tucked in between the fabric and lining.
Then, pin to the back panel of the dress and sew. It’s alright if you have a little extra collar on the back, as shown in the right photo. That will be tucked away later when you attach the ties.
Step 8: Pin right sides of dress together and sew
Next, pin the front and back of the dress together and sew from the top down. They will already be attached by the collar. Sew the shoulders seams first, then the sleeve seams, and last the skirt seams. Finish these seams with a zig zag stitch to reduce fraying.
Step 9: Sew ties and attach to back of dress
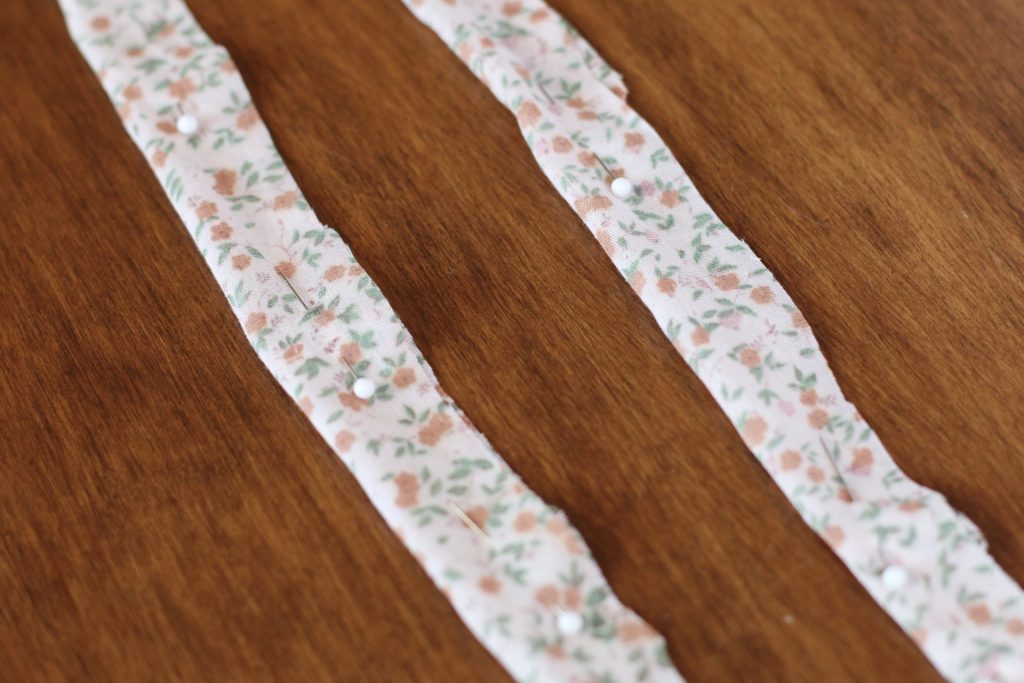
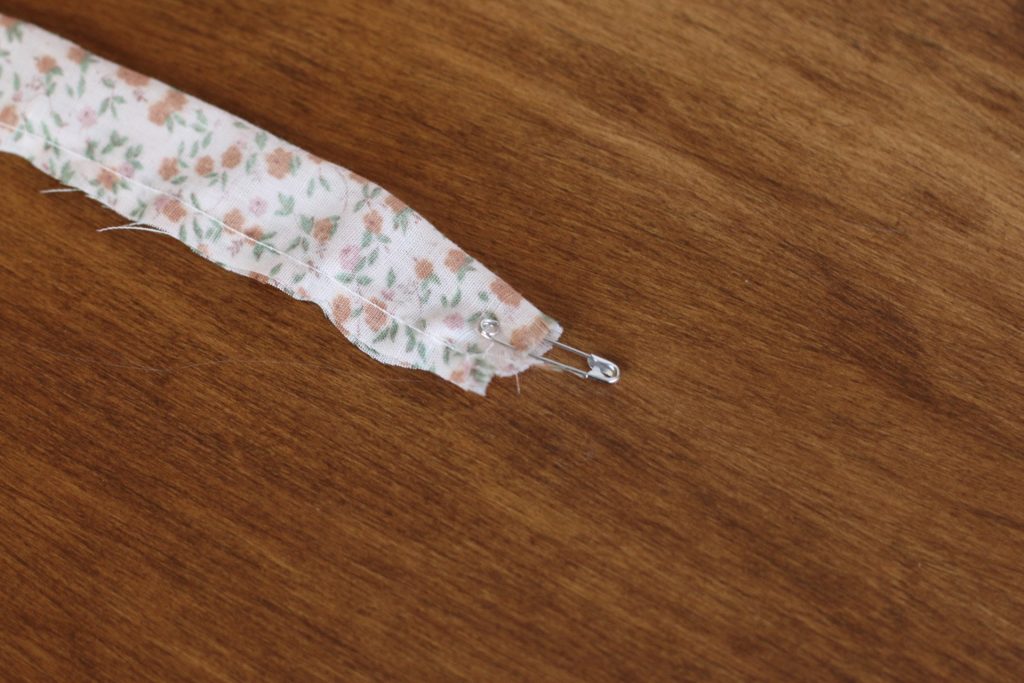

Cut out tie pieces about 2″ wide and however long you’d like. Fold in half, right sides together, pin and sew. Fasten safety pin to raw hem on one side and push through to turn inside out, as shown in the photos above.

Lastly, fold collar ends in towards back bodice panel and tuck tie and pin in place. Sew to fasten tie.
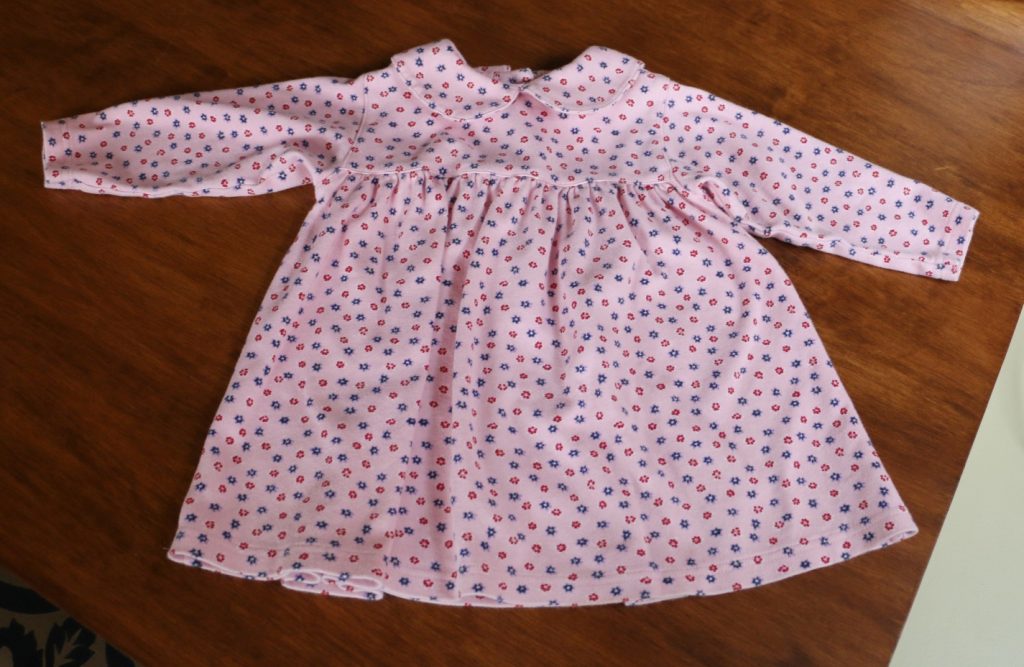
Finished Dress
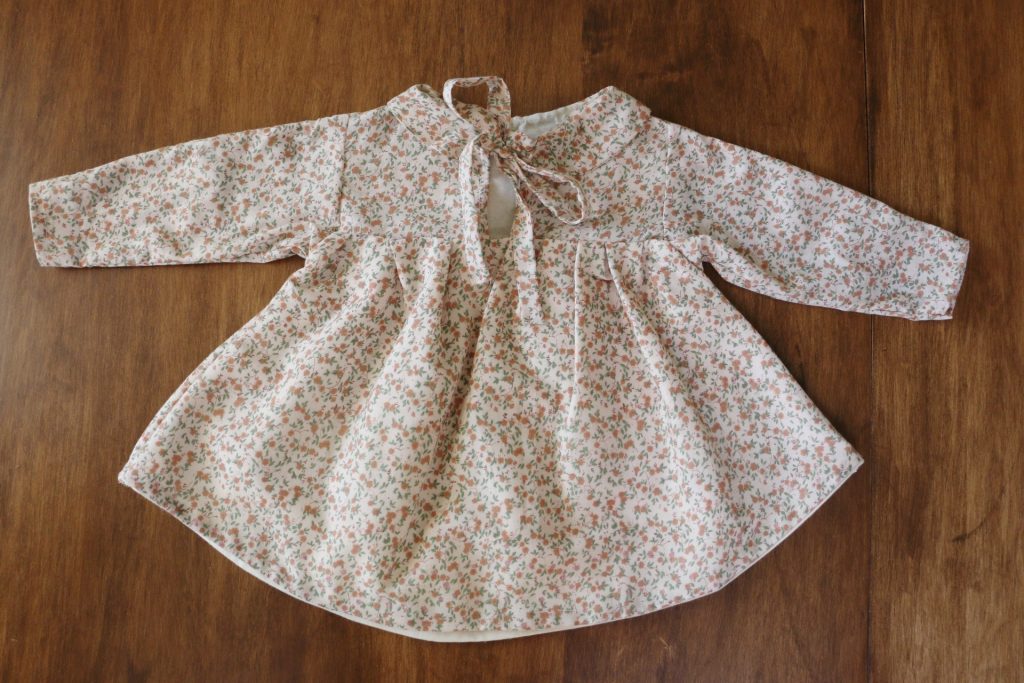
And voilà, you have a finished dress!
I hope this tutorial provides you with at least a starting place if you’d like to sew a baby dress without a pattern! You could also follow these general steps for a dress for yourself!
This finished dress definitely has its imperfections, but that’s okay! What I love about sewing is each time I do a project, I am learning more and more and stretching my sewing experience. I hope you will join me in sewing for fun!
It is great to use thrifted fabric for this sort of project, because it is reassuring to know if I make a mistake or even if it turns out to be a total disaster, I didn’t spend a lot of $$$ on the fabric, so it doesn’t feel as scary to try something for the first time!
If you want to thrift fabric, but have never thrifted anything, check out this post or download my Thrifting 101 FREE EBOOK with all my thrift tips and tricks.
Follow along to see more DIY tutorials with thrifted items! And please let me know in the comments, or tag me on Facebook or Instagram if you sew a dress with thrifted fabric!
Pin for later!

Leave a Reply